⏱ 15 min prep 🕒 2.5 hrs cook 🍽 Serves 4–5
You know that one dish that completely ruins you? The one that makes you look at every other dinner you’ve had and think, “That was fine, but…”
This is that dish. 😮
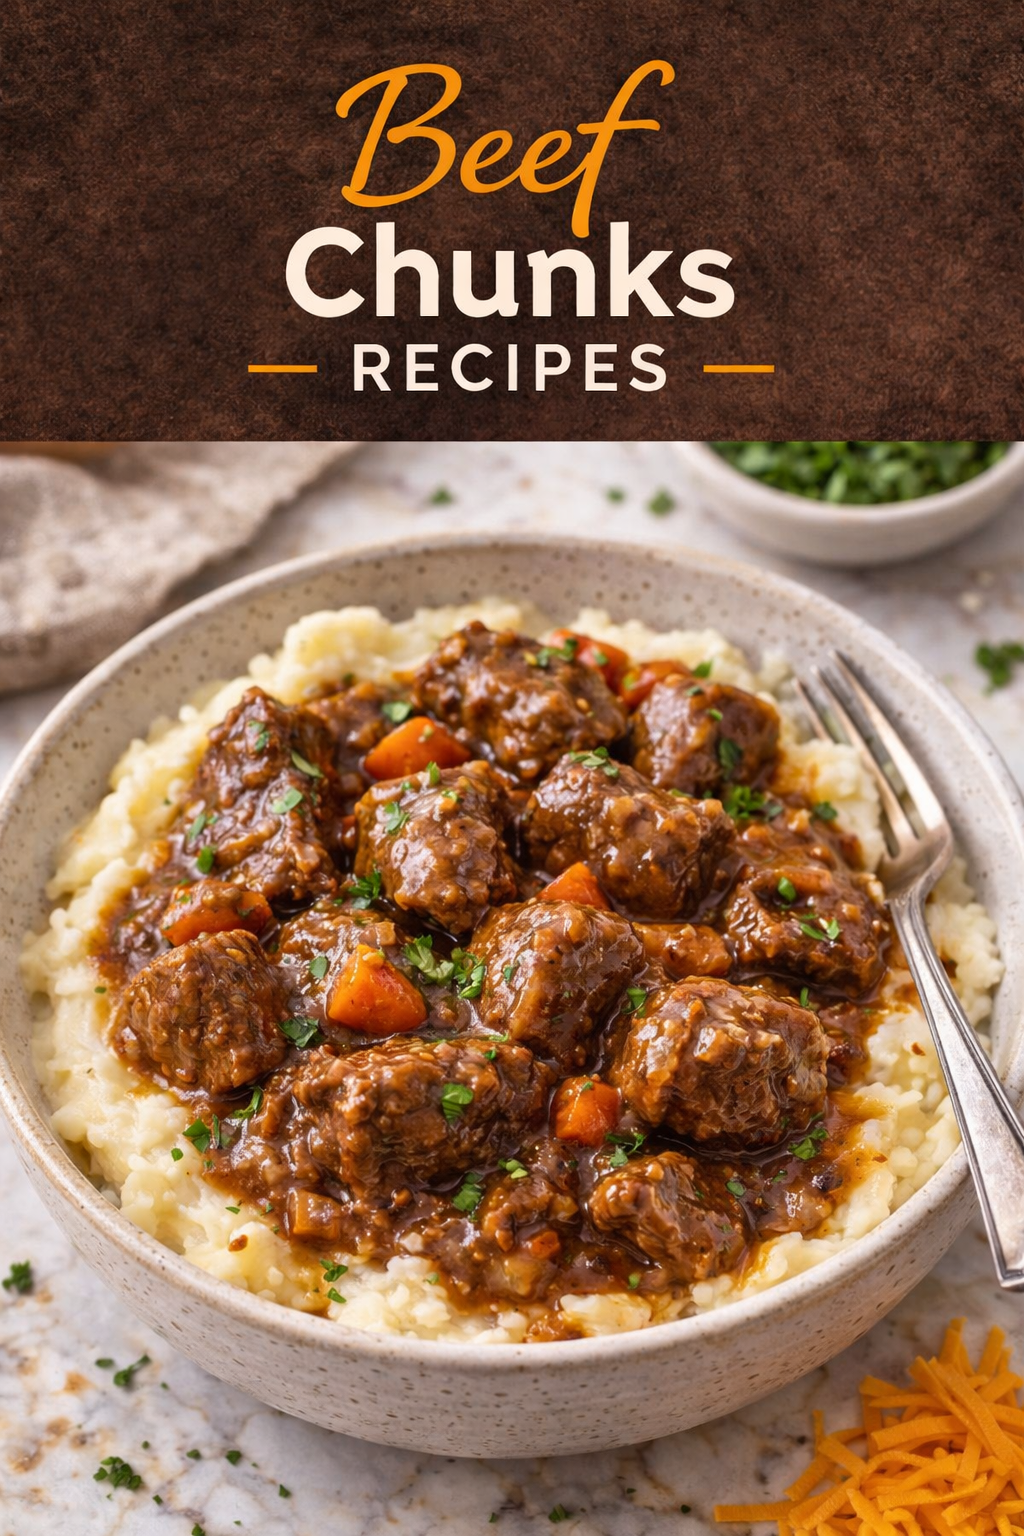
Slow-braised beef chunks cooked low and slow in a rich, garlicky sauce until they’re practically falling apart on the fork. No dry meat. No guesswork. Just deeply flavorful beef that tastes like you actually know what you’re doing in a kitchen.
And here’s the part that surprised me the most the first time I made this: it’s almost embarrassingly simple. You’re not doing anything fancy. You’re just letting time and heat do the heavy lifting while you do basically nothing.
The secret? It’s all in the sear. Skip that step and you’ll have something decent. Do it properly and you’ll have something people ask you to make again and again.
💡 Quick fact: Braising was originally developed as a way to make tough, inexpensive cuts of meat tender and flavorful. Chuck beef — which is what we’re using here — has tons of connective tissue that slowly breaks down into gelatin during cooking, which is exactly what gives the sauce that silky, restaurant-quality texture. You’re basically turning a budget cut into something extraordinary.
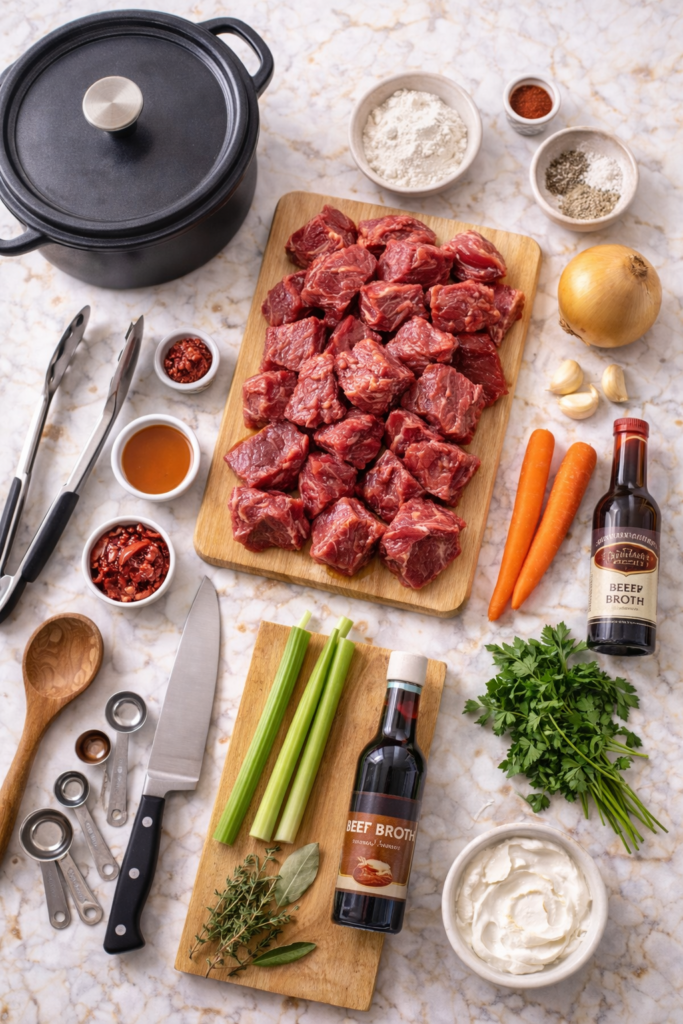
What You’ll Need
For the Beef
- 2 lbs (900g) beef chuck, cut into 2-inch chunks
- 2 tbsp all-purpose flour
- 1 tsp salt
- 1 tsp black pepper
- 1 tsp smoked paprika
For the Braise
- 3 tbsp olive oil
- 1 large yellow onion, diced
- 5 garlic cloves, minced
- 2 medium carrots, cut into chunks
- 2 celery stalks, roughly chopped
- 2 tbsp tomato paste
- 1 cup dry red wine (Cabernet or Merlot work great — or sub with extra broth)
- 2 cups beef broth (low-sodium recommended)
- 2 sprigs fresh thyme
- 2 sprigs fresh rosemary
- 1 bay leaf
- 1 tbsp Worcestershire sauce
To Finish
- Fresh flat-leaf parsley, chopped (for garnish)
- Flaky sea salt to taste
Tools You’ll Need
- Dutch oven or heavy-bottomed oven-safe pot (5–6 qt) — non-negotiable for even heat
- Sharp chef’s knife
- Cutting board
- Tongs
- Wooden spoon or silicone spatula
- Measuring cups and spoons
- Paper towels (for drying the beef before searing — crucial!)
Pro Tips
These are the things I wish someone had told me before I made this the first time.
- Pat the beef completely dry before seasoning. Moisture is the enemy of a good sear. If your beef is wet, it’ll steam instead of brown, and you’ll lose all that incredible caramelized flavor. A few seconds with paper towels makes a huge difference.
- Don’t skip the flour coating. Lightly dusting the beef chunks in flour before searing does two things: it helps build a better crust and it naturally thickens the sauce as it braises. Two birds, one move.
- Sear in batches, not all at once. Crowding the pan drops the temperature and you’ll end up with gray, steamed beef instead of a gorgeous dark-brown crust. Do 4–5 pieces at a time, take your time, and it pays off.
- Use wine you’d actually drink. It doesn’t need to be expensive, but if you wouldn’t pour a glass of it, don’t cook with it. The flavor concentrates as it reduces, so a bad wine = a slightly off sauce.
- Low and slow wins every time. Resist the urge to crank the heat to speed things up. 325°F (163°C) for 2.5 hours gives you melt-in-your-mouth results. Rushing it gets you chewy beef.
How to Make It
- Preheat your oven to 325°F (163°C). You want it ready to go once the braise is built.
- Season and coat the beef. Pat your beef chunks completely dry with paper towels. Combine flour, salt, black pepper, and smoked paprika in a bowl, then toss the beef chunks until lightly coated all over. Shake off any excess.
- Sear the beef. Heat 2 tbsp olive oil in your Dutch oven over medium-high heat. Working in batches, sear the beef chunks for 2–3 minutes per side until deeply browned. Don’t touch them while they’re searing — let the crust build. Transfer seared pieces to a plate and repeat.
- Sauté the aromatics. Reduce heat to medium. Add the remaining 1 tbsp oil, then toss in the onion, carrots, and celery. Cook for 4–5 minutes, scraping up all those browned bits from the bottom of the pot (that’s pure flavor). Add the garlic and cook for another minute.
- Add tomato paste and wine. Stir in the tomato paste and cook for 2 minutes until it darkens slightly. Pour in the red wine and let it bubble and reduce for 3–4 minutes.
- Build the braise. Pour in the beef broth and Worcestershire sauce. Add the thyme, rosemary, and bay leaf. Nestle the seared beef chunks back into the pot. The liquid should come about halfway up the meat.
- Braise in the oven. Cover the Dutch oven with its lid and transfer to the oven. Cook for 2 to 2.5 hours, checking once around the 1.5-hour mark. The beef is done when it pulls apart easily with a fork and the sauce has thickened and deepened in color.
- Rest and finish. Remove from oven. Discard the thyme, rosemary sprigs, and bay leaf. Taste the sauce and adjust seasoning. Scatter fresh parsley on top and finish with a pinch of flaky sea salt.
🔥 Chef’s Note
If your sauce looks thinner than you’d like after braising, remove the beef and simmer the sauce on the stovetop over medium heat for 8–10 minutes until it coats the back of a spoon. Then return the beef to warm through.
Substitutions and Variations
| Original | Swap | Notes |
|---|---|---|
| Red wine | Extra beef broth + 1 tbsp balsamic vinegar | Adds depth without alcohol |
| Beef chuck | Short ribs or beef shank | Both braise beautifully; shanks add even more gelatin to the sauce |
| All-purpose flour | Cornstarch (use half the amount) | Makes it gluten-free, slightly glossier sauce |
| Fresh herbs | ½ tsp dried thyme + ½ tsp dried rosemary | Works fine — dried herbs are more concentrated |
| Carrots + celery | Parsnips, mushrooms, or potatoes | Mushrooms especially add an earthy, meaty depth |

Make-Ahead Tips
This is genuinely one of those dishes that gets better overnight. The flavors deepen, the sauce thickens even more, and the beef absorbs everything as it sits.
- Make it the day before and refrigerate overnight. Reheat gently on the stovetop over low heat with a splash of broth if needed.
- The solidified fat on top after refrigerating is easy to lift off — a quick way to make the final dish lighter without losing any of the flavor.
- You can also braise the beef up to the point of adding it back to the pot, refrigerate, and finish in the oven the next day.
Nutrition Breakdown (Per Serving)
| Nutrient | Amount | % Daily Value |
|---|---|---|
| Calories | ~410 kcal | 21% |
| Protein | 38g | 76% |
| Total Fat | 22g | 28% |
| Saturated Fat | 7g | 35% |
| Carbohydrates | 12g | 4% |
| Fiber | 2g | 7% |
| Sodium | 680mg | 30% |
| Iron | 4.5mg | 25% |
Values are estimates based on standard nutritional data and may vary with specific ingredient brands used.
What to Serve It With
The sauce from this braise is too good to waste. You want something on the plate to soak it all up.
- Creamy mashed potatoes — the classic for a reason. The sauce pools into the potatoes and it’s basically perfect.
- Crusty bread or dinner rolls — for scooping every last drop of sauce from the bowl.
- Egg noodles or pappardelle pasta — toss the noodles right in the sauce for a pasta night upgrade.
- Creamy polenta — a rich, slightly sweet base that contrasts beautifully with the savory braise.
- Steamed jasmine rice — simple, lets the beef be the star.
Leftovers and Storage
If you somehow have leftovers (big if), here’s how to keep them tasting great.
| Storage Method | How Long | Best Way to Reheat |
|---|---|---|
| Refrigerator (airtight container) | Up to 4 days | Low heat on stovetop with a splash of broth |
| Freezer (with sauce, airtight) | Up to 3 months | Thaw overnight in fridge, then reheat gently |
Bonus idea: Leftover beef chunks make incredible sandwiches the next day. Pile them on a toasted roll with some caramelized onions and you’ve got a whole new meal with zero extra effort.
FAQ
Can I make this in a slow cooker instead of the oven?
Yes. Sear the beef and build the braise on the stovetop as directed, then transfer everything to a slow cooker. Cook on LOW for 7–8 hours or HIGH for 4–5 hours. The texture ends up very similar — just slightly less caramelized sauce.
My sauce is too thin. What do I do?
Remove the beef and simmer the sauce uncovered on the stovetop over medium heat for 8–12 minutes until it reduces and thickens. Or, mix 1 tsp cornstarch with 1 tbsp cold water and stir it into the simmering sauce.
Can I use a different cut of beef?
Chuck is ideal because of its fat marbling and connective tissue, but short ribs, beef brisket, or shank all work well with this same method. Avoid lean cuts like sirloin — they get tough when braised long.
Do I really need to sear the beef first?
Technically no, but you’d miss a lot of flavor. The Maillard reaction that happens during searing creates hundreds of new flavor compounds that you simply can’t get any other way. It’s worth the extra 10 minutes.
Can I make this dairy-free and gluten-free?
It’s already dairy-free. For gluten-free, swap the all-purpose flour for cornstarch (use half the amount) and make sure your broth and Worcestershire sauce are certified gluten-free.
How do I know when the beef is done?
The beef should fall apart when you gently press on a chunk with a fork. If it’s resisting, it simply needs more time. Give it another 20–30 minutes and check again.
Wrapping Up
This is the kind of recipe that becomes a household staple. Not just because it’s easy, but because every single time it comes out of the oven, the whole kitchen smells incredible and everyone at the table gets quiet for a moment after the first bite.
That silence? That’s the goal. 😄
Give it a try this week — and when you do, come back and tell me how it went in the comments below. Did you change anything? Did you serve it over mashed potatoes or pasta? I want to know! And if you hit any snags along the way, drop your questions too.