You know those cakes that look fancy but taste like cardboard?
This isn’t one of them.
I made this strawberry lunch cake for a casual Sunday brunch last month and watched it vanish before the coffee was even ready. People were cutting themselves second slices while still chewing their first.
Here’s the thing about lunch cakes that most recipes get wrong: they try too hard. They want to be fancy desserts masquerading as afternoon treats.
This cake? It knows exactly what it is.
Soft, buttery, packed with fresh strawberries, and just sweet enough to feel like a treat without putting you in a sugar coma. The kind of cake you can eat at 2pm with tea and not feel weird about it.
I’ve tested this recipe at least 15 times (my neighbors have been very happy), tweaking the strawberry ratio, adjusting the moisture level, playing with different sugars. What you’re getting here is the final, perfected version.
It’s simple. It’s foolproof. And it makes your kitchen smell incredible.
Let’s make some cake.
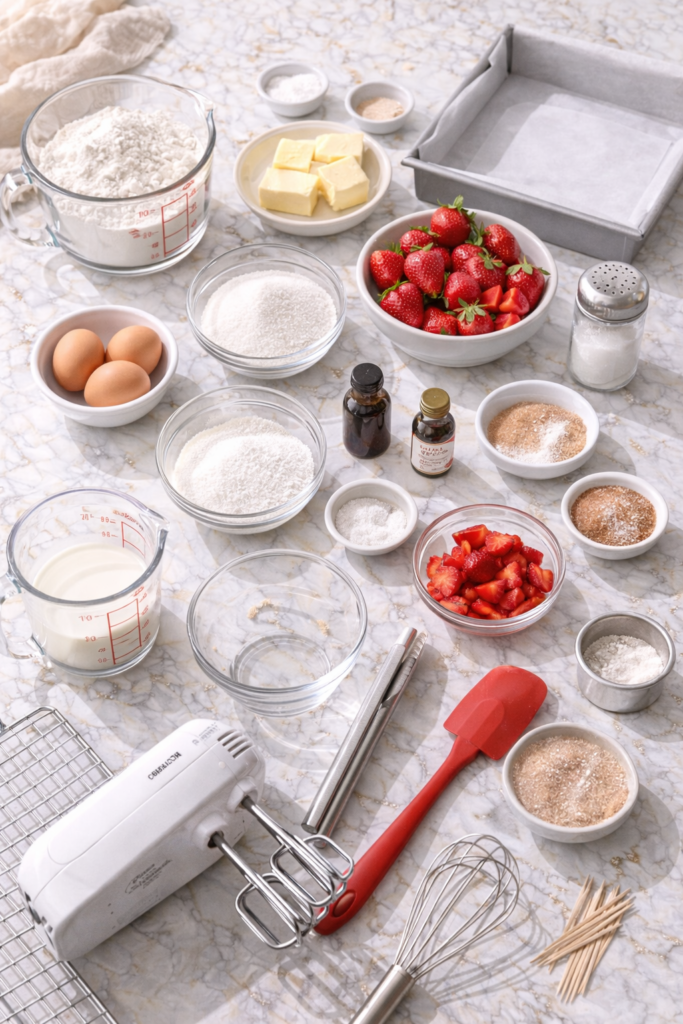
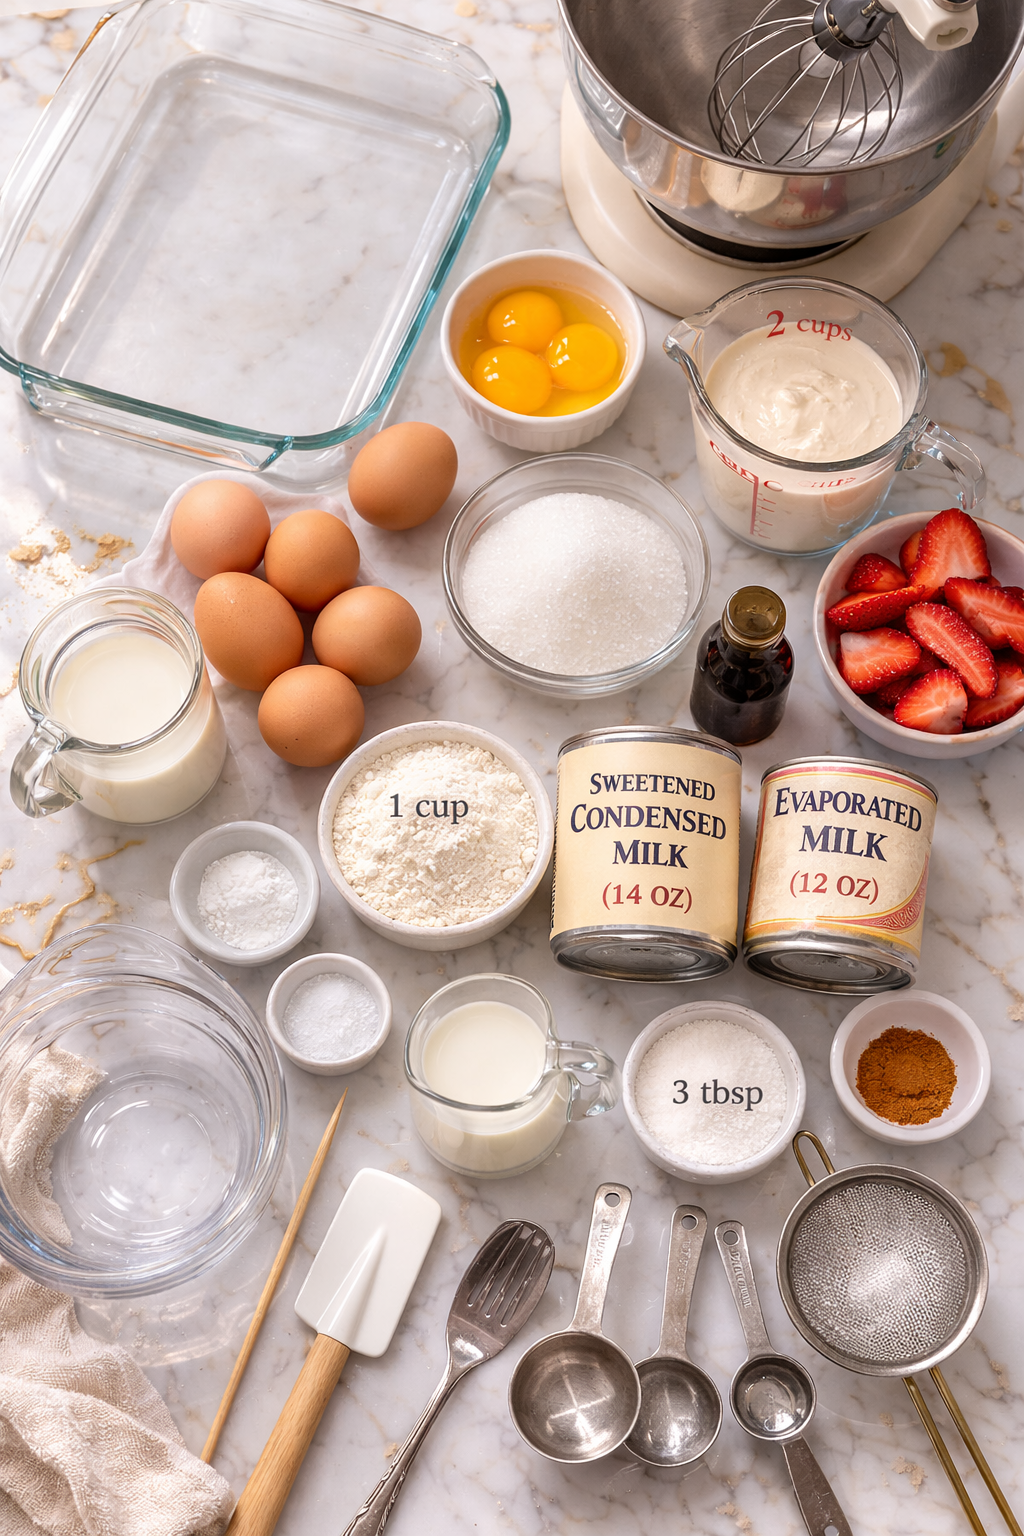
What You’ll Need
For the Cake:
- 1 3/4 cups all-purpose flour
- 2 teaspoons baking powder
- 1/2 teaspoon salt
- 1/2 cup unsalted butter, softened to room temperature
- 3/4 cup granulated sugar
- 2 large eggs, room temperature
- 1 teaspoon pure vanilla extract
- 1/2 teaspoon almond extract (optional but amazing)
- 2/3 cup whole milk, room temperature
- 2 cups fresh strawberries, hulled and quartered
- 2 tablespoons all-purpose flour (for coating strawberries)
For the Topping:
- 2 tablespoons granulated sugar
- 1/2 teaspoon ground cinnamon
For Serving (Optional):
- Powdered sugar for dusting
- Whipped cream
- Extra fresh strawberries
Tools You’ll Need:
- 9-inch square baking pan or 9-inch round springform pan
- Parchment paper
- Electric mixer (stand or hand)
- Large mixing bowl
- Medium mixing bowl
- Small bowl
- Whisk
- Rubber spatula
- Measuring cups and spoons
- Cooling rack
- Toothpick or cake tester
Pro Tips
Room temperature ingredients are your best friend. Cold butter won’t cream properly, cold eggs can make your batter curdle, and cold milk creates a dense cake. Take everything out of the fridge 30-60 minutes before you start baking. If you forgot (we’ve all been there), place eggs in warm water for 5 minutes and microwave the milk for 15 seconds.
Coat those strawberries in flour. This seems fussy, but it stops the strawberries from sinking to the bottom of your cake. Toss your quartered berries in 2 tablespoons of flour before folding them into the batter. Game changer.
Don’t overmix once you add the flour. The second that flour hits your wet ingredients, gluten starts forming. Mix just until you can’t see dry flour anymore, then stop. Overmixing creates a tough, chewy cake instead of a tender one.
Use fresh strawberries, not frozen. Frozen berries release too much liquid and turn your cake into a soggy mess. Fresh is the only way to go here. Save those frozen berries for smoothies.
Test for doneness early. This cake can go from perfect to overbaked quickly. Start checking at 35 minutes with a toothpick inserted in the center. You want a few moist crumbs, not wet batter, but also not completely clean.
How to Make Strawberry Lunch Cake
Step 1: Prep Everything
Preheat your oven to 350°F. This is one of those recipes where you actually want to wait for the full preheat.
Line your 9-inch square or round pan with parchment paper. I cut a piece for the bottom and let it come up the sides a bit. This makes getting the cake out so much easier later.
Grease the parchment and the sides of the pan with butter or cooking spray. Don’t skip this step unless you enjoy leaving half your cake stuck to the pan.
Take your butter, eggs, and milk out of the fridge if you haven’t already. Room temperature makes a real difference here.
Step 2: Prepare the Strawberries
Hull and quarter your strawberries. You want them in bite-sized pieces, not huge chunks that throw off the cake structure.
Here’s the trick: put them in a small bowl and toss with 2 tablespoons of flour until they’re lightly coated. This keeps them suspended in the batter instead of all sinking to the bottom.
Set them aside while you make the batter.
Step 3: Mix the Dry Ingredients
Grab a medium bowl and whisk together the flour, baking powder, and salt.
Whisk it well. Like, really get in there for a good 30 seconds. This distributes the baking powder evenly so you don’t get weird pockets of bitter taste or uneven rise.
Set this aside.
Step 4: Cream the Butter and Sugar
In your large mixing bowl, beat the softened butter and sugar together with an electric mixer on medium-high speed.
You’re looking for light and fluffy here. This takes about 3-4 minutes. The mixture should be pale yellow and have increased in volume. Don’t rush this step.
Scrape down the sides of the bowl halfway through to make sure everything gets incorporated.
Step 5: Add the Eggs and Extracts
Add the eggs one at a time, beating well after each addition. Wait until the first egg is fully mixed in before adding the second.
Pour in the vanilla extract and almond extract (if using). The almond extract is optional, but it adds this subtle depth that makes people ask what your secret ingredient is.
Beat for another 30 seconds until everything is smooth and combined.
Step 6: Alternate Dry and Wet Ingredients
Here’s where technique matters.
Add about a third of your flour mixture to the butter mixture. Mix on low speed just until it starts to combine.
Pour in half the milk. Mix on low until incorporated.
Add another third of the flour. Mix.
Add the remaining milk. Mix.
Add the final third of flour. Mix just until you can’t see any dry flour. The batter should be thick and smooth.
This alternating method keeps your cake tender and prevents overmixing.
Step 7: Fold in the Strawberries
Use a rubber spatula for this part, not the mixer.
Gently fold the flour-coated strawberries into the batter. Use a folding motion: cut down through the center, sweep across the bottom, and bring the spatula up the side. Rotate the bowl and repeat.
Keep folding until the strawberries are evenly distributed. You’ll see streaks of pink from the berry juice, and that’s perfect.
Step 8: Pour and Top
Pour the batter into your prepared pan. Use your spatula to spread it evenly, making sure to get it into the corners.
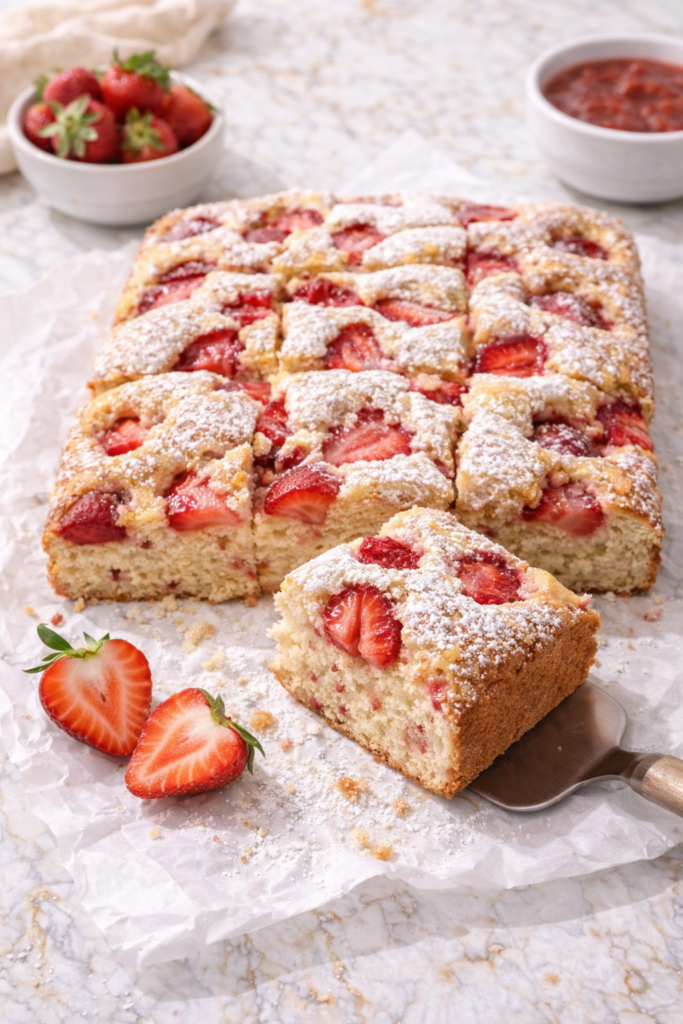
The top won’t be completely smooth because of the strawberries poking through, and that’s exactly what you want.
Mix together the 2 tablespoons of sugar and cinnamon for the topping. Sprinkle this evenly over the entire surface of the batter.
This creates a slightly crunchy, sweet top that contrasts beautifully with the soft cake.
Step 9: Bake
Slide the pan into your preheated oven on the middle rack.
Bake for 40-45 minutes. Start checking at 35 minutes with a toothpick or cake tester inserted into the center.
You’re looking for a toothpick that comes out with a few moist crumbs. If it’s wet with batter, give it another 5 minutes. If it’s completely clean, you might have gone a minute or two too long (but it’ll still be delicious).
The top should be golden brown and spring back lightly when touched.
Step 10: Cool and Serve
This is the hardest part: you have to let it cool.
Take the cake out of the oven and let it sit in the pan for 15 minutes. This lets it set up so it doesn’t fall apart when you move it.
After 15 minutes, run a knife around the edges if needed, then lift it out using the parchment paper. Transfer to a cooling rack.
Let it cool for at least another 15 minutes before slicing. You can serve it slightly warm or completely cool. Both ways are incredible.
Dust with powdered sugar right before serving if you want to get fancy. Cut into 9 generous squares or 12 smaller pieces.
Serve with a dollop of whipped cream and extra fresh strawberries if you’re feeling extra.
Substitutions and Variations
Different berries: Blueberries, raspberries, or blackberries all work. You can even do a mixed berry version. Just keep the total amount at 2 cups.
Dairy alternatives: Swap the whole milk for oat milk or almond milk. Use vegan butter in place of regular butter. The cake won’t be quite as rich, but it’ll still be good.
Gluten-free option: Use a 1:1 gluten-free baking flour. Bob’s Red Mill works well. The texture will be slightly different but still delicious.
Citrus twist: Add the zest of one lemon to the batter for a bright, summery flavor that pairs beautifully with strawberries.
Streusel topping: Skip the cinnamon sugar and make a simple streusel with 1/4 cup flour, 1/4 cup sugar, and 2 tablespoons cold butter crumbled together.
Chocolate version: Fold in 1/2 cup mini chocolate chips along with the strawberries. Trust me on this one.
Make-Ahead Tips
This cake actually gets better the next day as the flavors meld together.
Batter prep: You can mix the dry ingredients up to 2 days ahead and store in an airtight container. Cream the butter and sugar, add eggs, then alternate wet and dry when you’re ready to bake.
Fully baked: Make the cake up to 2 days before you need it. Let it cool completely, wrap tightly in plastic wrap, and store at room temperature. Don’t refrigerate it or it’ll dry out.
Freezing: This cake freezes beautifully for up to 3 months. Wrap individual slices in plastic wrap, then store in a freezer bag. Thaw at room temperature for about an hour.
Just wait to add the powdered sugar dusting until right before serving.
Leftovers and Storage
Store leftover cake in an airtight container at room temperature for up to 3 days. Don’t refrigerate it unless your kitchen is extremely hot, because the fridge will dry it out.
After day 3, the strawberries start to release more moisture and the cake gets a bit soggy. Still edible, just not as perfect.
Second-day serving ideas:
Toast slices in a pan with a little butter for a caramelized crust.
Warm it up for 15 seconds in the microwave and serve with vanilla ice cream.
Crumble it over yogurt for breakfast (I won’t judge).
Make strawberry shortcake by topping warm slices with fresh strawberries and whipped cream.
Turn it into a trifle by layering cubes with whipped cream and fresh berries.
Nutritional Information
Per slice (recipe makes 9 large slices):
- Calories: 285
- Protein: 5g
- Carbohydrates: 42g
- Fat: 12g
- Fiber: 2g
- Sugar: 22g
- Sodium: 220mg
This is a real cake with real ingredients, so yes, there’s butter and sugar. But the strawberries add fiber and vitamins, and the portion size is reasonable for an afternoon treat.
Pairing Suggestions
This cake is incredibly versatile and pairs well with lots of different drinks and accompaniments.
Serve with hot coffee or tea for an afternoon pick-me-up. Earl Grey is particularly nice with the strawberries.
Pair with a glass of cold milk for a nostalgic, comforting snack.
Serve alongside fresh fruit salad for a light brunch spread.
Add a scoop of vanilla ice cream and turn it into dessert.
Make it fancy with champagne or prosecco for a garden party.
The cake is sweet but not overly so, which means it works for basically any time of day.
FAQ
Can I use frozen strawberries?
I really don’t recommend it. Frozen strawberries have too much moisture and will make your cake soggy and dense. Fresh is the way to go for this recipe.
Why did my strawberries sink to the bottom?
You probably forgot to toss them in flour first, or your batter was too thin. Make sure you’re coating the berries and that your batter is nice and thick before folding them in.
Can I make this in a different size pan?
You can use a 9-inch round pan or even an 8×8 square pan (it’ll be slightly taller). Just adjust the baking time. A larger, shallower pan will bake faster, so start checking at 30 minutes.
My cake came out dry. What happened?
You probably overbaked it or overmixed the batter. Check your cake at 35 minutes next time, and remember to mix just until combined once you add the flour.
Can I double this recipe?
Absolutely. Use a 9×13 pan and bake for 45-50 minutes. Perfect for feeding a crowd.
Do I have to use the almond extract?
Nope, it’s totally optional. The cake is delicious with just vanilla. The almond extract adds a subtle nutty depth, but if you don’t have it or don’t like it, just use an extra 1/2 teaspoon of vanilla.
Can I make this as a layer cake?
You could, but I’d make two separate batches and use 8-inch round pans instead. Lunch cakes are meant to be casual and simple, not towering layer cakes.
How do I know when it’s done?
Insert a toothpick in the center. It should come out with a few moist crumbs, not wet batter. The top should be golden and spring back when lightly touched.
Wrapping Up
This strawberry lunch cake has become my answer to “what should I bring?” for basically every casual gathering.
It’s the kind of recipe you can make without thinking too hard, which is exactly what you want for a relaxed afternoon treat. No fancy techniques, no complicated steps, just solid baking basics that produce a reliably delicious cake.
The best part? You probably have most of these ingredients in your kitchen right now. And if you don’t have fresh strawberries, grab some at the store and make this today.
It’s simple, it’s crowd-pleasing, and it’s the perfect excuse to invite friends over for coffee.
Give it a try and let me know how it turns out. Did you add any fun twists? What did you serve it with? Drop a comment below and share your experience.


