Your oven is about to become your favorite spot in the kitchen.
I’m talking about that moment when the smell of cinnamon and butter-soaked apples fills your house and makes everyone wonder what you’re making.
That’s apple crisp doing its thing.
And here’s what gets me: people think dessert needs to be complicated. They see words like “flaky crust” or “whipped peaks” and immediately close the recipe.
But apple crisp?
It’s literally just fruit and a crumbly topping. You don’t need pastry skills or fancy equipment.
You just need apples, a bowl, and about 10 minutes of actual work.
I started making this when I realized I was tired of buying those overly sweet, preservative-loaded desserts from the store. And when I made my first batch, I couldn’t believe how easy it was.
Like, suspiciously easy.
The kind of easy that makes you think you forgot a step.
But nope. That’s just how apple crisp works.
And once you get the hang of it, you’ll be making it on random Tuesday nights just because you can. Trust me on this.
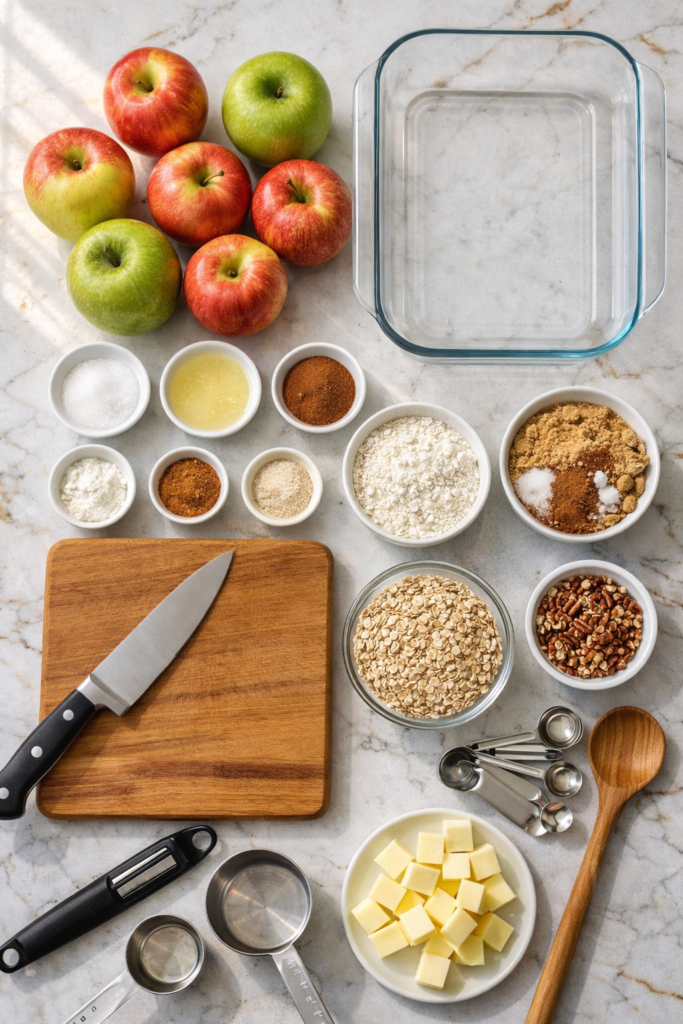
What You’ll Need
For the Apple Filling
| Ingredient | Amount | Notes |
|---|---|---|
| Medium apples (peeled, cored, sliced) | 6 (about 2.5 lbs) | Granny Smith or Honeycrisp work best |
| Granulated sugar | 2 tablespoons | Balances the tartness |
| Lemon juice | 1 tablespoon | Keeps apples from browning |
| Ground cinnamon | 1 teaspoon | The star spice |
| Ground nutmeg | 1/4 teaspoon | Adds warmth |
| All-purpose flour | 2 tablespoons | Thickens the filling |
For the Crisp Topping
| Ingredient | Amount | Notes |
|---|---|---|
| Old-fashioned rolled oats | 1 cup | Must be old-fashioned, not quick |
| All-purpose flour | 3/4 cup | Creates structure |
| Light brown sugar (packed) | 3/4 cup | Adds caramel flavor |
| Ground cinnamon | 1/2 teaspoon | More cinnamon never hurts |
| Salt | 1/4 teaspoon | Balances sweetness |
| Unsalted butter (cold, cubed) | 1/2 cup (1 stick) | Must be cold! |
| Chopped pecans or walnuts | 1/2 cup | Optional but amazing |
Tools You’ll Need
Essential:
- 9×13 inch baking dish (or 9×9 for thicker crisp)
- Large mixing bowl
- Medium mixing bowl
- Sharp knife
- Cutting board
Helpful:
- Vegetable peeler
- Wooden spoon or spatula
- Measuring cups and spoons
Pro Tips
1. Pick the Right Apples 🍎
Not all apples are created equal when it comes to baking.
You want something that holds its shape and doesn’t turn to mush. Granny Smith, Honeycrisp, or a mix of tart and sweet apples work best.
I usually do half Granny Smith and half Honeycrisp because I like the flavor balance.
Here’s a quick breakdown:
| Apple Type | Texture When Baked | Flavor Profile | Best For |
|---|---|---|---|
| Granny Smith | Firm, holds shape | Very tart | Adding tang |
| Honeycrisp | Firm, slightly soft | Sweet with hints of honey | Balanced sweetness |
| Gala | Soft, breaks down | Very sweet | Skip for crisps |
| Fuji | Medium-firm | Sweet | Mixing with tart varieties |
2. Keep That Butter Cold
I know it sounds weird when you’re just going to bake it anyway, but cold butter creates those crispy, golden chunks in the topping.
If your butter gets too warm, pop it in the freezer for 5 minutes before mixing.
Room temperature butter will give you a dense, cake-like topping instead of that crumbly texture you want.
3. Don’t Skip the Lemon Juice
It’s not just about adding tartness.
The acidity keeps your apples from browning too quickly and helps balance out all that sweetness. Plus, it makes the whole thing taste more complex without anyone being able to pinpoint why.
4. Let It Rest Before Serving
I know it’s tempting to dig in immediately, but give it at least 10-15 minutes after taking it out of the oven.
The filling will thicken up, and you won’t burn your mouth trying to eat molten apple lava.
(Yes, I’ve learned this the hard way.)
5. Add Oats to the Apple Layer
This is a little trick I picked up: toss a tablespoon of oats into your apple mixture.
They absorb some of the excess juice while baking and prevent that soggy bottom situation nobody wants.
How to Make Apple Crisp
Step 1: Prep Your Oven and Pan
Preheat your oven to 350°F (175°C).
Grab your baking dish and give it a light coating of butter or cooking spray. Set it aside.
Step 2: Prepare the Apples
Peel your apples if you want (I usually do because I’m not a fan of apple peel texture in desserts, but some people leave them on).
Core them and slice into roughly 1/4-inch pieces.
You don’t need to be super precise here. Just try to keep them similar sizes so they cook evenly.
Step 3: Mix the Filling
Toss your sliced apples into a large bowl.
Add the granulated sugar, lemon juice, cinnamon, nutmeg, and flour. Mix everything together with your hands or a spoon until the apples are evenly coated.
The flour will help thicken the juices as they cook.
Step 4: Spread in the Pan
Dump your apple mixture into your prepared baking dish and spread it out evenly.
You want a nice, level layer.
Step 5: Make the Topping
In a medium bowl, combine the oats, flour, brown sugar, cinnamon, and salt. Mix well.
Add those cold butter cubes and use your fingers to work the butter into the dry ingredients.
You’re looking for a crumbly texture with pea-sized butter chunks. If you’re adding nuts, fold them in now.
Step 6: Top the Apples
Sprinkle your crisp topping evenly over the apples.
Don’t press it down. You want it loose and crumbly so it gets crispy in the oven.
Step 7: Bake
Pop it in the oven for 45-55 minutes.
You’ll know it’s done when the topping is golden brown and the apples are bubbling around the edges. The whole thing should smell incredible.
Step 8: Cool Slightly
Let it sit for at least 10-15 minutes before serving.
This gives the filling time to set up a bit and makes it easier to scoop.
Step 9: Serve
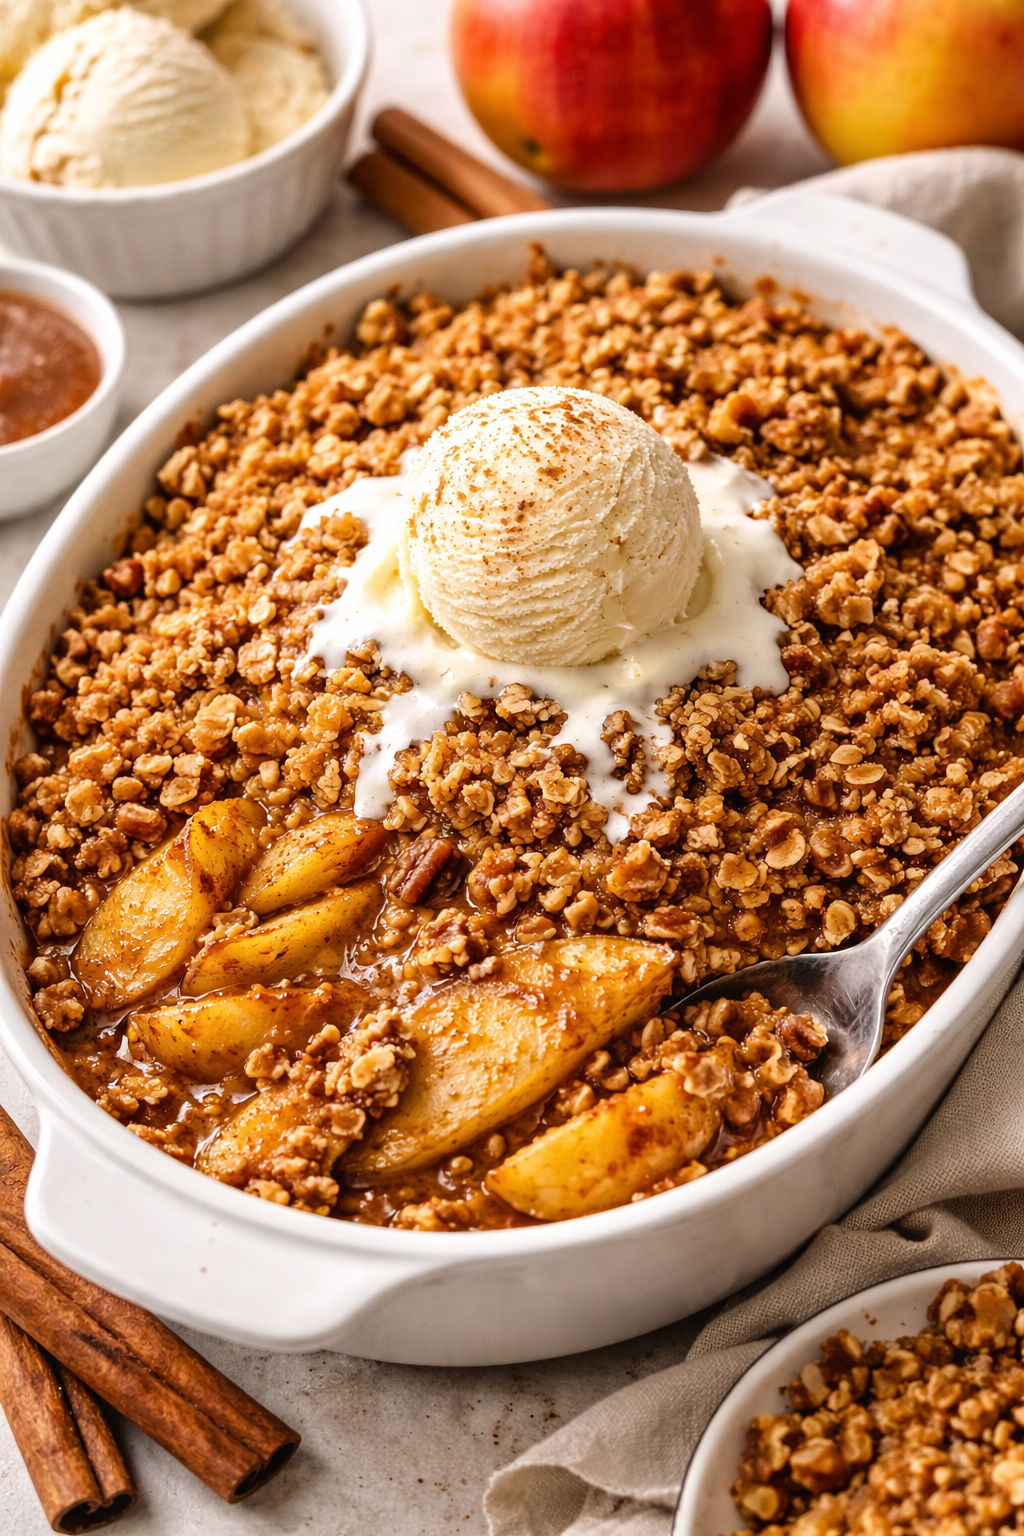
Grab a spoon and dig in.
I love serving this with vanilla ice cream or a dollop of whipped cream, but it’s also great on its own.
Substitutions and Variations
Fruit Swaps
| Instead of Apples | Use This | Adjustment Needed |
|---|---|---|
| 6 cups sliced pears | Same spices work | Add 1 tbsp extra flour |
| 6 cups sliced peaches | Reduce cinnamon to 1/2 tsp | Add 1 tbsp extra flour |
| 5 cups mixed berries | Use 1/2 tsp cinnamon | Add 3 tbsp flour total |
| 4 cups apples + 2 cups cranberries | Keep spices same | Perfect for holidays |
Dietary Modifications
Gluten-Free:
- Swap all-purpose flour for 1:1 gluten-free flour blend
- Use certified gluten-free oats
- Everything else stays the same
Dairy-Free:
- Replace butter with coconut oil or vegan butter
- Texture will be slightly different but still delicious
Lower Sugar:
- Reduce brown sugar to 1/2 cup
- Use sugar substitute if you prefer
- Reduce granulated sugar to 1 tablespoon
Flavor Twists
Spice it up:
- Add 1/4 teaspoon ground ginger
- Try a pinch of cardamom
- Mix in 1 tablespoon maple syrup to filling
Texture changes:
- Add 1/2 cup shredded coconut to topping
- Mix in 1/4 cup crushed graham crackers
- Toss in chocolate chips (trust me)
Go mini:
- Divide among 6-8 ramekins
- Reduce baking time to 25-30 minutes
- Perfect for portion control (or not)

Make Ahead Tips
Prep Strategy
| Timeline | What to Do | Storage |
|---|---|---|
| 24 hours ahead | Prep filling and topping separately | Store in separate containers in fridge |
| 6 hours ahead | Assemble but don’t bake | Cover and refrigerate, add 5-10 min to baking |
| Up to 3 months | Assemble and freeze unbaked | Freeze in dish, bake from frozen adding 15-20 min |
Pro move: Make the topping in bulk and freeze in portions. Then you can whip up apple crisp whenever the craving hits.
Nutritional Breakdown
Per Serving (based on 12 servings)
| Nutrient | Amount | % Daily Value |
|---|---|---|
| Calories | 245 | – |
| Total Fat | 10g | 13% |
| Saturated Fat | 5g | 25% |
| Cholesterol | 20mg | 7% |
| Sodium | 55mg | 2% |
| Total Carbohydrates | 38g | 13% |
| Dietary Fiber | 3g | 12% |
| Sugars | 24g | – |
| Protein | 2g | 4% |
Keep in mind this is an estimate and will vary based on exact ingredients used and portion size.
What to Serve With Apple Crisp
Dinner Pairings
Hearty mains that work:
- Roasted chicken with herbs
- Pork chops with apple cider glaze
- Sunday pot roast
- Grilled salmon
Casual combos:
- Tomato soup + grilled cheese
- Chicken noodle soup
- Chili and cornbread
Brunch vibes:
- Scrambled eggs and bacon
- French toast
- Sausage links
- Strong coffee ☕
Topping Ideas
| Topping | Why It Works | Temperature |
|---|---|---|
| Vanilla ice cream | Classic combo, melts into warm crisp | Cold |
| Whipped cream | Light and airy contrast | Cold |
| Caramel sauce | Adds extra sweetness | Warm |
| Greek yogurt | Tangy balance | Cold |
| Heavy cream | Rich and simple | Cold |
Leftovers and Storage
Short-Term Storage
In the fridge:
- Cover tightly with plastic wrap or foil
- Keeps for up to 4 days
- Topping will soften but still tastes great
Reheating:
- Oven method: 350°F for 10 minutes (crisps up topping)
- Microwave: 30-45 seconds (quick but topping stays soft)
- Cold from fridge: Actually delicious, don’t judge me
Long-Term Storage
Freezing baked crisp:
- Let cool completely
- Wrap tightly in plastic wrap, then foil
- Label with date
- Freeze up to 3 months
- Thaw overnight in fridge
- Reheat in oven at 350°F
Real talk: I’ve never had leftovers last more than two days in my house. But if you do, you’ll have dessert sorted for the week.
Quick Reference Guide
Troubleshooting Common Issues
| Problem | Cause | Solution |
|---|---|---|
| Topping burning too fast | Oven too hot or rack too high | Cover loosely with foil, move to lower rack |
| Soggy bottom | Too much liquid from apples | Add 1 more tbsp flour to filling next time |
| Dry apples | Overbaked or not enough fruit | Check at 45 min, add more apples |
| Topping not crispy | Butter too warm when mixed | Keep butter cold, work quickly |
| Apples not tender | Underbaked or sliced too thick | Bake longer, slice thinner next time |
Time Breakdown
Active time: 15 minutes
Baking time: 45-55 minutes
Cooling time: 10-15 minutes
Total time: 70-85 minutes
FAQ
Can I use quick oats instead of old-fashioned oats?
You can, but the texture won’t be quite as good.
Quick oats tend to get mushy and won’t give you that satisfying crispy topping. Stick with old-fashioned if possible.
My topping is browning too fast. What do I do?
Just cover the dish loosely with foil for the remaining baking time.
The apples will continue to cook and soften without the topping burning.
Do I have to peel the apples?
Not if you don’t want to.
The peels add a bit more fiber and texture. I prefer them peeled because I like the smoother consistency, but it’s totally your call.
Can I make this in a different size pan?
Yep. A 9×9 pan will give you a thicker crisp with more topping-to-apple ratio.
Just keep an eye on the baking time since it might take a bit longer.
What if I don’t have brown sugar?
You can use granulated sugar in the topping, but you’ll miss out on that caramel-like flavor brown sugar adds.
In a pinch, mix 1 tablespoon of molasses with 3/4 cup granulated sugar to make your own brown sugar.
Is apple crisp the same as apple crumble?
Pretty much.
The names are used interchangeably, though some people say crumble has a finer, more sand-like topping while crisp includes oats.
Honestly, it’s splitting hairs.
Can I use frozen apples?
I wouldn’t recommend it.
Frozen apples release a lot of water when they thaw, which can make your crisp watery. Fresh is definitely the way to go here.
How do I know when it’s done?
The topping should be golden brown and the apple filling should be bubbling around the edges.
If you stick a fork into the apples, they should be tender but not mushy.
Can I add other spices?
Absolutely!
Try ginger, cardamom, or even a tiny pinch of clove. Just don’t go overboard or it’ll taste like a spice cabinet exploded.
Why is my crisp watery?
Either your apples released too much juice or you didn’t use enough flour in the filling.
Next time, add an extra tablespoon of flour and let it rest a full 15 minutes before serving.
Wrapping Up
Making apple crisp is one of those rare things that’s both ridiculously easy and seriously impressive.
You spend maybe 15 minutes prepping, and then your oven does all the heavy lifting while you sit back and wait for that smell to fill your house.
And when you pull it out, all golden and bubbling, you look like you actually know what you’re doing in the kitchen.
I love that about this recipe.
It doesn’t demand perfection, but it delivers every single time.
So grab some apples, throw together that topping, and bake yourself something worth getting excited about.
And when you do, come back and drop a comment. Tell me how it turned out, if you changed anything, or if you’re now planning to make it three times a week like I did when I first figured this out.
Your kitchen is about to smell amazing. You’re welcome 😊


