You know that pack of stew meat sitting in your freezer right now?
The one you grabbed on sale three weeks ago because it seemed like a good idea at the time?
Yeah, that one.
Today’s the day you actually use it. And I’m going to show you exactly how to turn those tough little cubes into the kind of meal that has your family asking for seconds before they’ve even finished their first plate.
Because here’s the thing about stew meat: when you cook it right, it becomes fall-apart tender and soaks up flavors like a sponge. When you cook it wrong, you’re chewing for days.
I’ve made this recipe at least 50 times now, tweaking it each time until I landed on the perfect version. And trust me, it’s so good that you’ll actually look forward to those chilly evenings when all you want is a big bowl of something warm and comforting.
Plus, it’s one of those recipes that tastes even better the next day. Win-win.
What You’ll Need
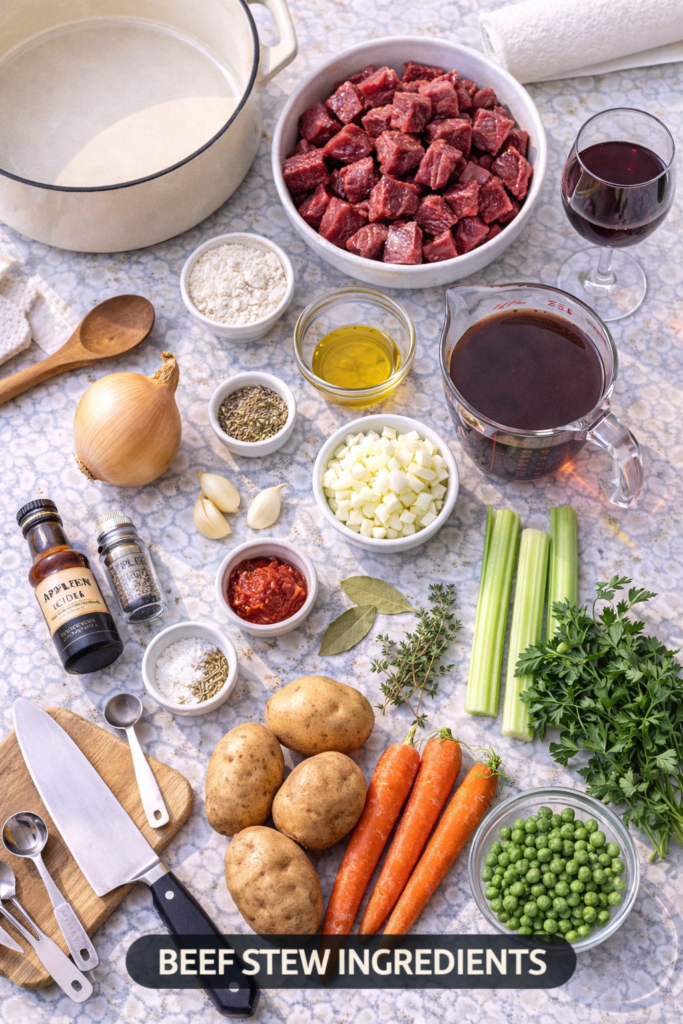
For the Stew:
- 2 pounds beef stew meat (chuck roast cut into cubes works great)
- 3 tablespoons all-purpose flour
- 2 tablespoons olive oil
- 1 large yellow onion, diced
- 4 cloves garlic, minced
- 3 cups beef broth (low sodium is best)
- 1 cup red wine (or substitute with more beef broth)
- 2 tablespoons tomato paste
- 2 bay leaves
- 1 teaspoon dried thyme
- 1 teaspoon paprika
- 1/2 teaspoon black pepper
- 1 teaspoon salt (adjust to taste)
- 4 medium carrots, peeled and cut into 2-inch pieces
- 3 medium potatoes, cut into chunks
- 2 celery stalks, chopped
- 1 cup frozen peas
- 2 tablespoons fresh parsley, chopped (for garnish)
Equipment You’ll Need:
- Large Dutch oven or heavy-bottomed pot with lid
- Cutting board
- Sharp knife
- Wooden spoon
- Measuring cups and spoons
- Paper towels
- Small bowl
Pro Tips
1. Pat the meat dry before cooking
Seriously, this is non-negotiable. Wet meat steams instead of browns, and browning is where all the flavor lives. Use paper towels and get that meat as dry as possible before it hits the pan.
2. Don’t crowd the pan
When you’re browning the meat, give each piece space. If you dump everything in at once, the temperature drops and you end up with gray, sad meat instead of beautiful golden-brown pieces. I usually brown in 2-3 batches, and yes, it takes longer, but the difference in flavor is massive.
3. Low and slow wins the race
Stew meat needs time to break down and get tender. If you try to rush it on high heat, you’ll end up with chewy, disappointing chunks. Keep it at a gentle simmer for at least 1.5 hours, but 2-2.5 hours is even better if you have the time.
4. Add the vegetables at the right time
Root vegetables like carrots and potatoes can handle long cooking times, but they’ll turn to mush if you add them too early. I add mine with about 45 minutes left of cooking time. The peas go in at the very end (last 5 minutes) to keep their bright green color.
5. Taste and adjust before serving
Always taste your stew before you serve it. Sometimes it needs more salt, sometimes a splash of vinegar to brighten it up, sometimes just a pinch more pepper. Don’t skip this step, it’s what takes a good stew to a great one.

Step-by-Step Instructions
Step 1: Prep your ingredients
Cut your stew meat into evenly sized pieces if they’re not already (about 1.5-2 inch cubes). Pat them completely dry with paper towels. Dice your onion, mince the garlic, and chop all your vegetables. Having everything ready before you start cooking makes the whole process so much smoother.
Step 2: Season and flour the meat
Put the flour, 1/2 teaspoon salt, and 1/4 teaspoon pepper in a bowl and mix. Toss the dried meat cubes in this mixture until they’re evenly coated. Shake off any excess flour.
Step 3: Brown the meat
Heat the olive oil in your Dutch oven over medium-high heat. Once it’s shimmering (but not smoking), add your meat in batches. Let each piece sit undisturbed for 2-3 minutes before flipping. You want a deep golden-brown crust on at least two sides of each cube.
This step takes about 10-12 minutes total for all the batches. Remove the browned meat to a plate and set aside.
Step 4: Build your flavor base
Lower the heat to medium. In the same pot (with all those beautiful brown bits stuck to the bottom), add your diced onion. Cook for about 5 minutes until it’s soft and translucent. Add the garlic and cook for another minute until fragrant.
Stir in the tomato paste and cook for 2 minutes. This deepens the tomato flavor and gets rid of that raw taste.
Step 5: Deglaze
Pour in the red wine (or extra beef broth if you’re not using wine) and scrape up all those delicious brown bits from the bottom of the pot. This is where so much of your flavor comes from, so really get in there with your wooden spoon.
Let it bubble for about 2 minutes to cook off some of the alcohol.
Step 6: Add everything back in
Return the browned meat to the pot. Pour in the beef broth. Add the bay leaves, thyme, paprika, and remaining salt and pepper. Stir everything together.
Bring it to a boil, then immediately reduce the heat to low. You want a gentle simmer, not a rolling boil. Put the lid on, but leave it slightly ajar so steam can escape.
Step 7: Let it do its thing
Let the stew simmer for about 1.5 hours, stirring occasionally. The meat should be starting to get tender, but not quite fall-apart yet.
Step 8: Add the vegetables
Add your carrots, potatoes, and celery. Stir them in, making sure they’re mostly submerged in the liquid. If your liquid level looks low, add a bit more broth or water.
Continue simmering for another 30-45 minutes until the vegetables are tender and the meat is fall-apart tender when you poke it with a fork.
Step 9: Finish it off
Add the frozen peas and stir them in. Let them cook for about 5 minutes until heated through.
Taste the broth and adjust the seasoning. This is where you might need a bit more salt, pepper, or even a splash of vinegar or lemon juice to brighten things up.
Remove the bay leaves (super important, nobody wants to bite into one of those).
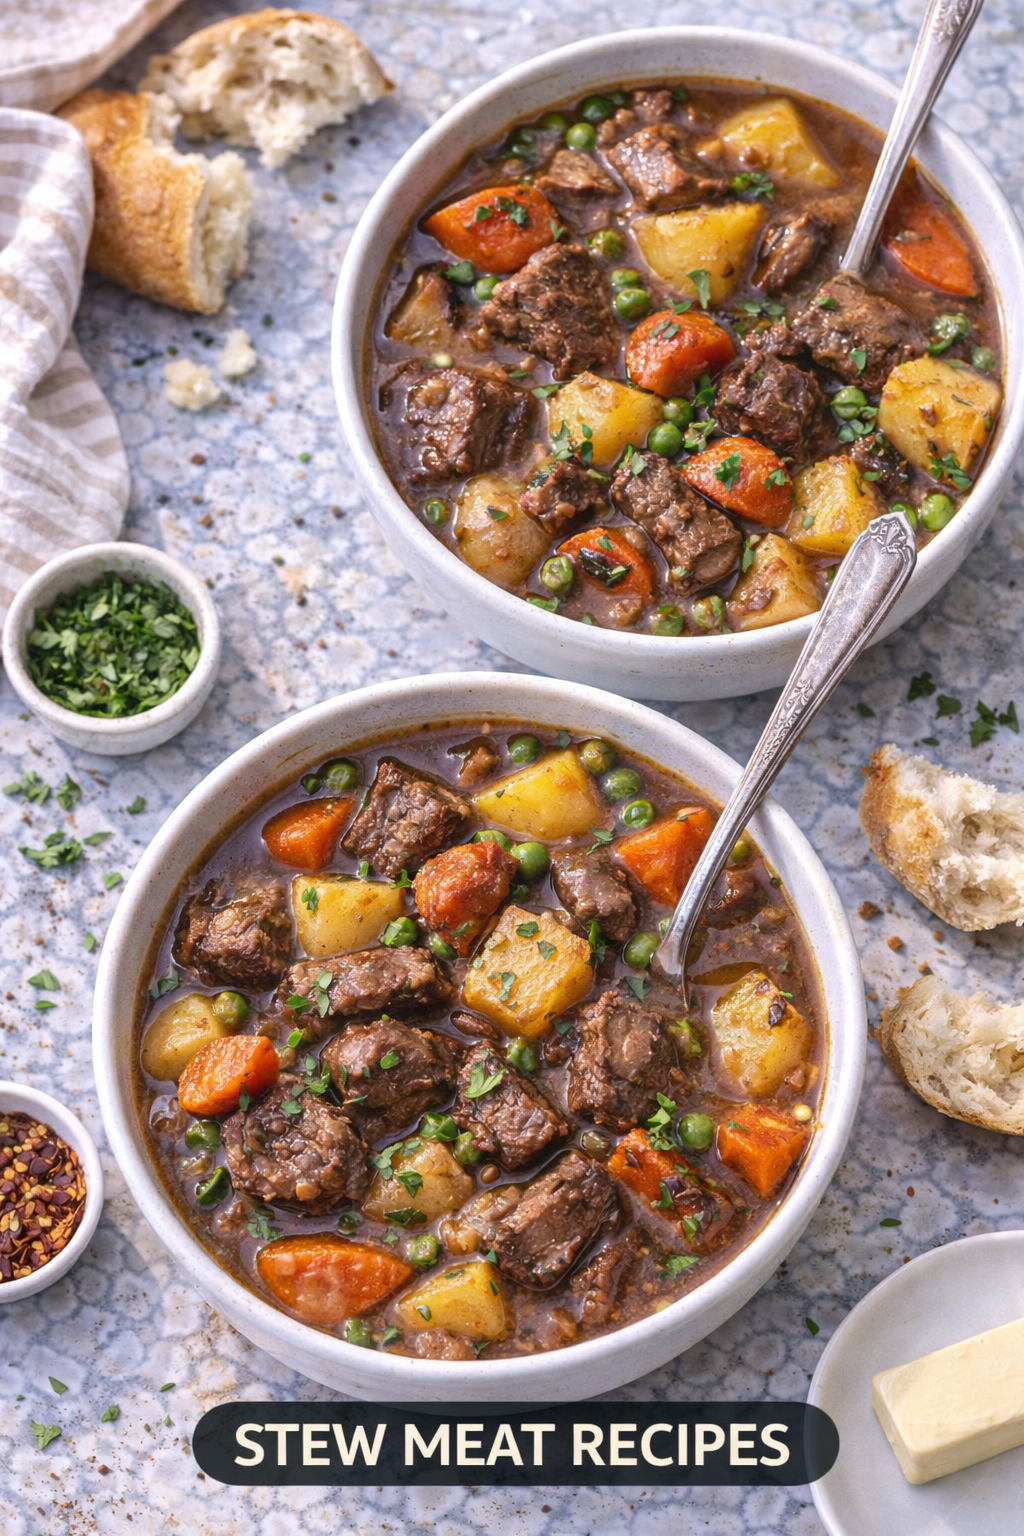
Step 10: Serve
Ladle the stew into bowls and garnish with fresh parsley. Serve it with crusty bread for dipping, or just enjoy it on its own.
Substitutions and Variations
Different meat options:
- Pork shoulder cut into cubes works amazing in this recipe
- Lamb stew meat gives it a richer, more complex flavor
- Chicken thighs (bone-in or boneless) can work, but reduce cooking time to 45 minutes
Vegetable swaps:
- Sweet potatoes instead of regular potatoes add a subtle sweetness
- Parsnips instead of carrots bring an earthy, slightly sweet flavor
- Mushrooms (add them with the onions) give it an extra umami boost
- Butternut squash instead of potatoes makes it feel more fall-appropriate
Flavor variations:
- Add 1 teaspoon of Worcestershire sauce for deeper savory notes
- Stir in a tablespoon of balsamic vinegar at the end for brightness
- Add a pinch of cinnamon and allspice for a Moroccan-inspired version
- Use white wine instead of red for a lighter flavor
- Add a can of diced tomatoes for a more tomato-forward stew
Make it spicy:
- Add 1-2 teaspoons of hot sauce
- Include diced jalapeños with the onions
- Sprinkle in some red pepper flakes
- Use chipotle peppers in adobo sauce for smoky heat
Make Ahead Tips
This stew is actually one of those magical dishes that tastes better the second day after all the flavors have had time to meld together.
You can make the entire stew up to 3 days in advance. Let it cool completely, then store it in an airtight container in the fridge. When you’re ready to eat, reheat it slowly on the stovetop over medium-low heat, stirring occasionally.
You can also prep just the meat browning step ahead of time. Brown all the meat, let it cool, and refrigerate for up to 24 hours. The next day, continue with the recipe from the onion step.
For freezer prep, you can freeze the completed stew (without the potatoes, as they get grainy when frozen) for up to 3 months. Thaw overnight in the fridge and add fresh potatoes when reheating.
Leftovers and Storage
Store leftover stew in airtight containers in the refrigerator for up to 4 days. The flavors continue to develop, making day-two stew absolutely incredible.
To reheat, transfer to a pot and warm over medium-low heat, stirring occasionally. Add a splash of beef broth or water if it’s gotten too thick.
You can also reheat individual portions in the microwave. Just cover the bowl with a damp paper towel and heat in 1-minute intervals, stirring between each one.
Don’t have leftover stew sitting at room temperature for more than 2 hours. Get it into the fridge as soon as it’s cooled down enough.
What to Serve With It
This stew is honestly filling enough to eat on its own, but here are some sides that pair beautifully:
Bread options:
- Crusty French bread for soaking up every last drop of that gravy
- Buttermilk biscuits (the flaky kind that fall apart in layers)
- Garlic bread
- Cornbread for a slightly sweet contrast
Lighter sides:
- Simple green salad with a tangy vinaigrette to cut through the richness
- Roasted Brussels sprouts
- Steamed green beans
- Coleslaw for crunch and freshness
Drink pairings:
- A full-bodied red wine like Cabernet Sauvignon or Merlot
- Dark beer like a stout or porter
- Sparkling water with lemon
- Hot apple cider if it’s really cold outside
Nutritional Information (per serving)
Based on 6 servings:
- Calories: 425
- Protein: 35g
- Carbohydrates: 28g
- Fat: 18g
- Fiber: 4g
- Sugar: 5g
- Sodium: 680mg
- Cholesterol: 95mg
Keep in mind these are estimates and will vary based on the exact ingredients and brands you use.
FAQ
Can I make this in a slow cooker?
Absolutely! Brown the meat and sauté the onions and garlic in a pan first (don’t skip this step), then transfer everything to your slow cooker. Cook on low for 7-8 hours or high for 4-5 hours. Add the quick-cooking vegetables (like peas) in the last 30 minutes.
Can I use a different cut of beef?
Chuck roast is ideal because it has enough fat and connective tissue to stay moist during long cooking. You can also use beef bottom round or beef brisket cut into cubes. Avoid lean cuts like sirloin as they’ll dry out.
Why is my stew meat tough?
It hasn’t cooked long enough. Stew meat needs at least 1.5-2 hours of gentle simmering to break down the connective tissue and become tender. If it’s still tough, keep cooking. It’s almost impossible to overcook it as long as you’re keeping the heat low.
Can I make this without wine?
Yes! Just use an equal amount of beef broth instead. You can add a splash of balsamic vinegar (about 1 tablespoon) to mimic some of the acidity that wine provides.
My stew is too thin, how do I thicken it?
If your stew is too watery, remove the lid for the last 30 minutes of cooking to let some liquid evaporate. You can also mix 2 tablespoons of cornstarch with 2 tablespoons of cold water, then stir it into the simmering stew. Let it cook for 5 minutes to thicken up.
Can I add other vegetables?
Go for it! Green beans, turnips, rutabaga, corn, and bell peppers all work great. Just consider their cooking times and add heartier vegetables earlier, delicate ones later.
Is this recipe gluten-free?
Almost! Just skip the flour coating on the meat (the stew will be slightly thinner) or use a gluten-free flour blend. Make sure your beef broth is certified gluten-free.
How do I know when the meat is done?
The meat should be fork-tender, meaning when you poke it with a fork, it should easily fall apart. If there’s any resistance, it needs more time.
Wrapping Up
There’s really nothing quite like a pot of homemade stew simmering on the stove, filling your whole house with the most incredible smell.
And the beauty of this recipe is that once you’ve got the technique down, you can make it a hundred different ways. Swap the vegetables, try different herbs, make it spicy or keep it mild.
The real secret is just giving it enough time to cook. That’s it. Low heat, enough liquid, and patience.
So grab that package of stew meat from your freezer, set aside a couple hours (most of it hands-off time), and make yourself a pot of something that’ll warm you from the inside out.
I’d love to hear how yours turns out! Drop a comment below and let me know what vegetables you used or if you made any fun substitutions. And if you have any questions while you’re cooking, ask away. I’m always here to help troubleshoot. 🍲


