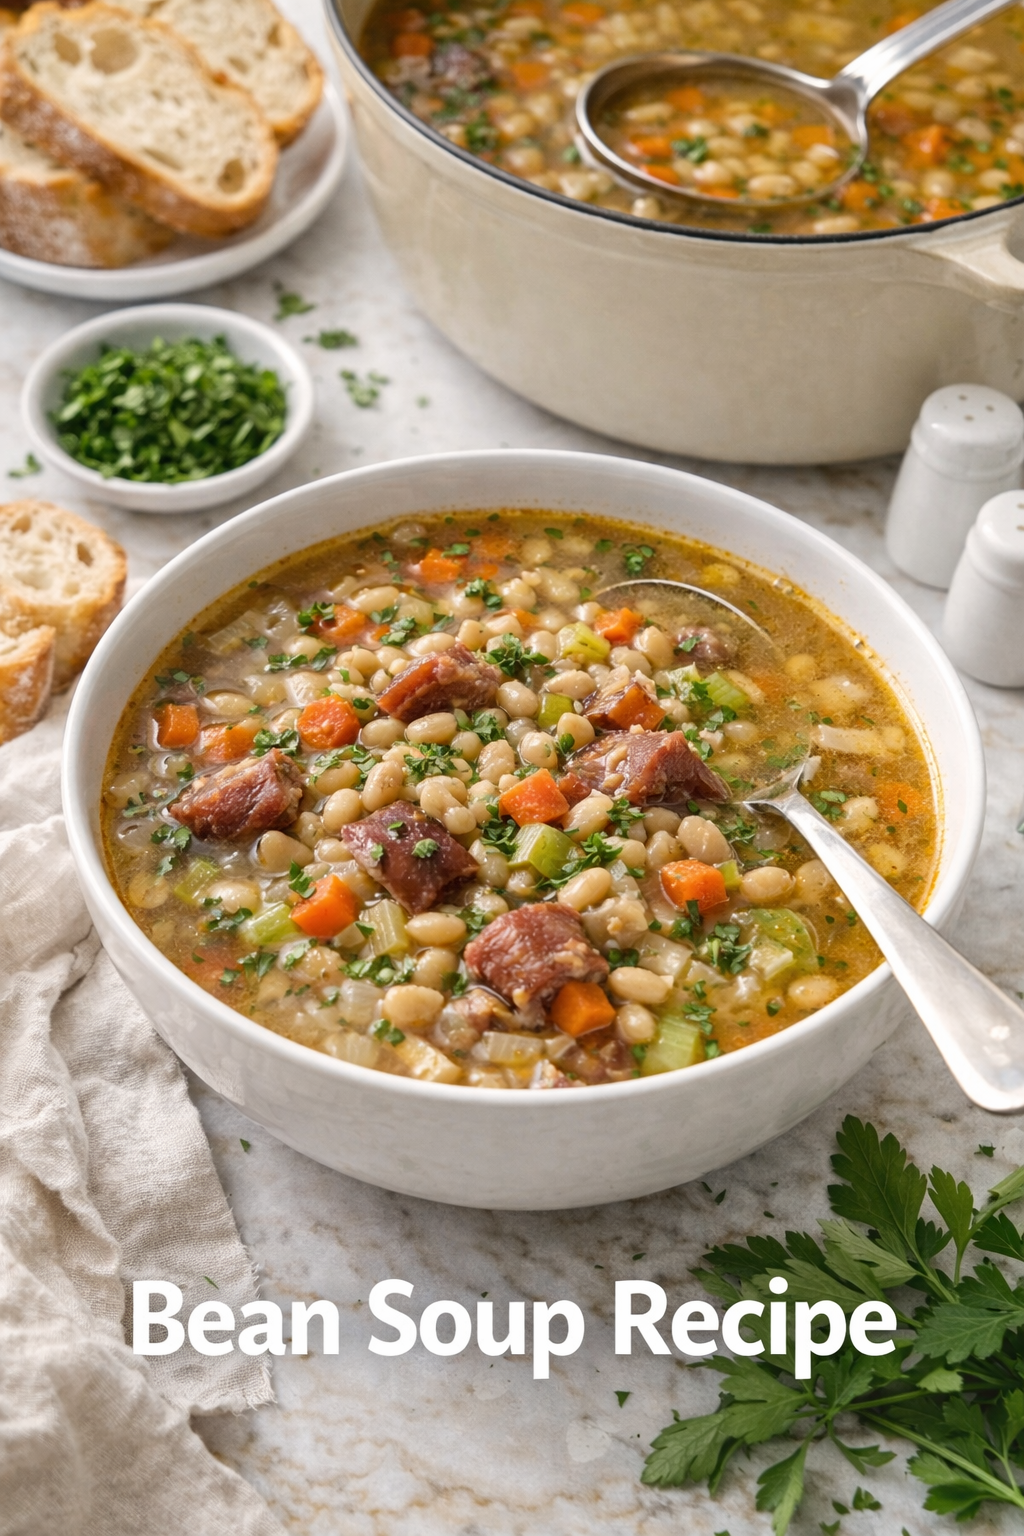
Ever notice how some soups just taste like they’ve been simmering in an Italian nonna’s kitchen for three generations?
That’s this bean soup.
Not the watery, flavorless stuff you get from a can. I’m talking about the thick, creamy, stick-to-your-ribs kind that makes you want to abandon all your weekend plans and just eat soup on the couch.
The secret? It’s not complicated. Actually, it’s almost embarrassingly simple.
But here’s what nobody tells you: the difference between mediocre bean soup and the kind people beg you to make again comes down to just a few small tricks.
I’m sharing all of them today.
What You’ll Need
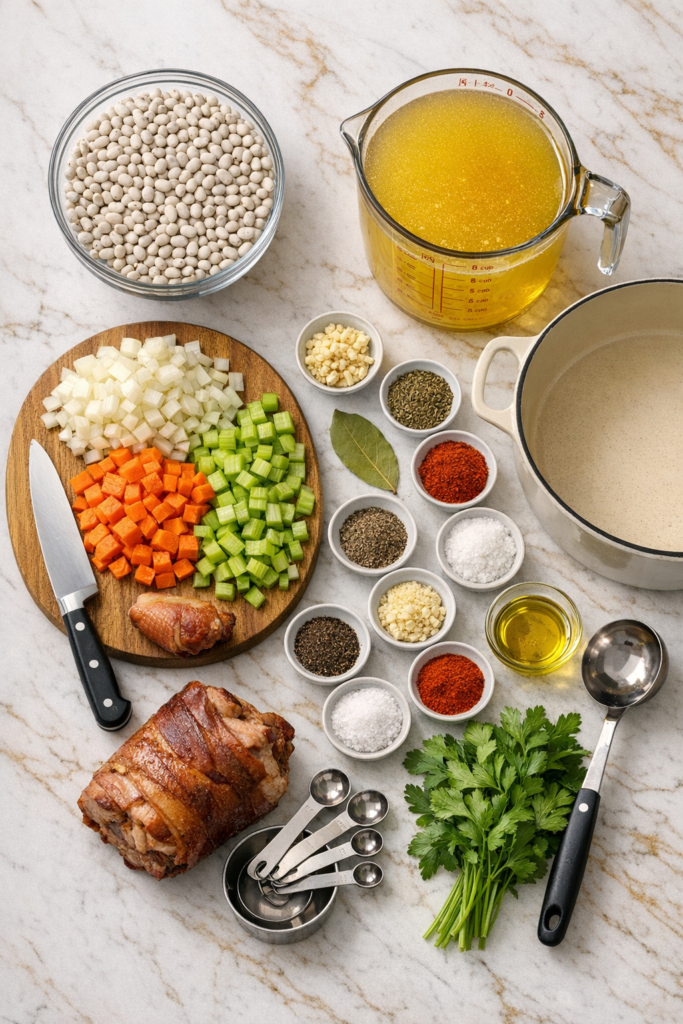
The Essentials
| Ingredient | Amount | Why It Matters |
|---|---|---|
| Dried navy beans | 1 lb | The star of the show – creamy texture when cooked |
| Chicken or veggie broth | 8 cups | Builds flavor from the ground up |
| Yellow onion | 1 large, diced | Sweet, savory base |
| Carrots | 3 medium, diced | Natural sweetness + color |
| Celery | 3 stalks, diced | That classic soup flavor |
| Garlic | 4 cloves, minced | Because garlic makes everything better |
| Bay leaf | 1 | Subtle earthy depth |
| Dried thyme | 1 tsp | Woodsy, warm notes |
| Smoked paprika | 1/2 tsp | Adds complexity without heat |
| Black pepper | 1/4 tsp | Just enough kick |
| Salt | 1/2 tsp + more to taste | You’ll need more than you think |
| Olive oil | 2 tbsp | For sautéing the veggies |
| Ham hock or diced ham | 1 hock or 1 cup | Optional but SO worth it |
| Fresh parsley | For garnish | Makes it look pretty 🌿 |
Your Kitchen Arsenal
- Large pot or Dutch oven (at least 6 quarts)
- Wooden spoon
- Sharp knife
- Cutting board
- Measuring cups and spoons
- Potato masher (secret weapon!)
- Ladle
Bean Breakdown: Choosing Your Star Player
Not all beans are created equal. Here’s what you need to know:
| Bean Type | Texture | Flavor | Best For |
|---|---|---|---|
| Navy beans | Super creamy | Mild, slightly sweet | Classic bean soup (my pick!) |
| Great Northern | Creamy with a bite | Nutty, delicate | Lighter soups |
| Cannellini | Firm yet tender | Mild, earthy | Italian-style variations |
| Pinto | Soft, meaty | Earthy, rich | Southwestern versions |
Quick Fact: Navy beans got their name because the U.S. Navy served them as a staple food in the early 1900s. They’re tiny but mighty! 💪
Pro Tips From Someone Who’s Made This 50+ Times
The overnight soak is non-negotiable.
Look, I get it. Planning ahead isn’t everyone’s strong suit. But soaking beans for 8-12 hours cuts your cooking time in HALF and makes them way easier on your stomach. Just do it.
Forgot to soak? Use the quick-soak method: cover beans with water, boil for 2 minutes, turn off heat, cover, and let sit for 1 hour.
Ham hock = liquid gold.
This isn’t just about adding meat. The bone releases collagen as it cooks, making your broth silky and rich. It’s the difference between “this is good” and “WHAT IS IN THIS?!”
No ham hock? Try these instead:
- 4-5 strips of bacon (cook first, crumble back in)
- Smoked turkey leg
- 1 tsp liquid smoke + 1 cup diced ham
The potato masher trick will change your life.
About 90 minutes in, grab a potato masher and smash some beans right against the pot. This releases their starch and turns your broth into something creamy and thick without adding any cream or flour.
Genius, right?
Salt in stages.
Beans are salt sponges. Add some at the beginning, more halfway through, and adjust at the end. Taste constantly. Your tongue is your best measuring tool.
Let it rest before serving.
Turn off the heat and let the soup sit for 10 minutes. The flavors marry together and you won’t scorch your entire mouth on the first bite. Patience pays off here.
The Step-by-Step (Don’t Skip Ahead!)
Step 1: Prep Your Beans Like a Pro
Spread your dried beans on a light-colored surface. Pick out any funky-looking ones or tiny stones (yes, this actually happens).
Rinse them in a colander under cold water.
If you soaked overnight: drain and rinse again.
If you forgot: do the quick-soak method above.
Step 2: Build Your Flavor Foundation
Heat 2 tbsp olive oil in your pot over medium heat.
Add diced onion, carrots, and celery. The French call this a mirepoix. Food people call it “the holy trinity of soup.”
Cook for 8-10 minutes, stirring occasionally. You want the onion translucent and the vegetables just starting to soften.
Here’s what you’re looking for:
- Onions should look glassy, not brown
- Vegetables should smell sweet
- Nothing should be sticking to the pan
Step 3: Wake Up Those Spices
Toss in your garlic, thyme, smoked paprika, and black pepper.
Stir constantly for 60-90 seconds.
You’ll know it’s ready when the smell hits you and makes you unreasonably hungry. If the garlic turns brown, you’ve gone too far (it’ll taste bitter).
Step 4: Everything Goes In
Add your beans, broth, bay leaf, and ham hock to the pot.
Stir everything together.
Crank the heat to high and bring it to a rolling boil.
Step 5: The Long Simmer (Where Magic Happens)
Once it’s boiling, reduce heat to low. You want a gentle simmer, not a aggressive bubble.
Put the lid on but leave it cracked about an inch so steam can escape.
Now here’s your timeline:
| Time | What’s Happening | What You Should Do |
|---|---|---|
| 0-30 min | Beans starting to soften | Stir every 15 min, check liquid level |
| 30-60 min | Flavors developing | Stir occasionally, add water if needed |
| 60-90 min | Beans getting tender | Remove ham hock, shred meat, return to pot |
| 90-120 min | Almost done | Use potato masher on some beans |
| 120+ min | Perfect! | Season to taste, let rest |
Real talk: If your beans aren’t soft after 2 hours, they might be old. Keep cooking and add more liquid as needed. Some beans are stubborn. 🤷♀️
Step 6: The Finishing Touch
Pull out that bay leaf (don’t eat it!).
Taste your soup. It probably needs more salt. Maybe a lot more.
Some people add a splash of apple cider vinegar here for brightness. Try 1 tsp first.
Adjust black pepper to taste.
Step 7: Serve Like You Mean It
Ladle into bowls.
Top with fresh parsley.
Drizzle with good olive oil if you’re feeling fancy.
Grab crusty bread for dipping.
Prepare for compliments. 😊

Substitutions & Variations That Actually Work
Dietary Swaps
| If You Need… | Do This Instead |
|---|---|
| Vegetarian | Skip ham, use veggie broth, add 1 tbsp soy sauce for umami |
| Vegan | Same as vegetarian + skip the butter garnish |
| Low-sodium | Use low-sodium broth, add salt only at the end |
| Gluten-free | Already is! Just double-check your broth label |
Flavor Twists
Italian Style
- Add a parmesan rind while simmering
- Stir in 2 cups fresh spinach at the end
- Top with grated parmesan
- Serve with garlic bread
Southwestern Spin
- Replace thyme with cumin
- Add 1 diced jalapeño with veggies
- Stir in 1 can diced tomatoes
- Top with cilantro and squeeze of lime
Smoky & Spicy
- Use chipotle powder instead of paprika
- Add 1/2 tsp cayenne
- Finish with a splash of hot sauce
- Serve with cornbread
Portuguese Inspired
- Add 1/2 lb chorizo sausage (sliced)
- Include 1 can diced tomatoes
- Use kale instead of parsley
- Finish with a drizzle of red wine vinegar
Texture Preferences
| You Want… | Here’s How |
|---|---|
| Super thick & creamy | Mash more beans, simmer uncovered last 30 min |
| Chunky & rustic | Don’t mash any beans, keep pieces large |
| Silky smooth | Blend half the soup, return to pot |
| Extra rich | Stir in 1/4 cup heavy cream at the end |
Make Ahead Magic
Bean soup is one of those rare dishes that literally tastes better the next day.
The flavors meld together overnight. The broth gets thicker. Everything just becomes more itself.
Your game plan:
3 days ahead: Make the entire soup, cool completely, store in fridge 1 day ahead: Make soup, store in fridge, tastes even better now Morning of: Reheat gently on stove, adjust seasoning, serve
Freezer Tip: This soup freezes like a dream. Portion into containers, freeze for up to 3 months. Thaw overnight in the fridge, reheat on the stovetop, and nobody will know it wasn’t fresh. 🧊
Leftovers & Storage (Because You’ll Have Them)
Storage Times
| Method | How Long | Notes |
|---|---|---|
| Counter | 2 hours max | Don’t push this |
| Refrigerator | 5 days | Gets thicker daily |
| Freezer | 3 months | Leave room for expansion |
Reheating Without Ruining It
Stovetop method (best):
- Pour soup into pot
- Heat on medium-low
- Stir frequently
- Add broth or water to thin if needed
- Heat until steaming throughout
Microwave method (fastest):
- Microwave-safe bowl
- Cover with damp paper towel
- Heat 2 minutes, stir
- Heat 1 more minute
- Let stand 1 minute before eating
What to expect: By day 3, you’ll have something closer to thick bean paste than soup. This is normal! Just thin it out with extra broth.
Nutritional Breakdown
Here’s what you’re getting per bowl (based on 6 servings):
| Nutrient | Amount | % Daily Value |
|---|---|---|
| Calories | 280 | – |
| Protein | 18g | 36% |
| Carbohydrates | 42g | 14% |
| Fiber | 12g | 48% |
| Fat | 5g | 8% |
| Sodium | 650mg | 28% |
| Iron | 3.2mg | 18% |
| Potassium | 680mg | 14% |
Why this soup is actually good for you:
- High in plant-based protein (great for vegetarians!)
- Packed with fiber (keeps you full for hours)
- Low in fat
- Rich in vitamins from all those veggies
- Contains resistant starch (good for gut health)
Perfect Pairings
Bean soup is pretty complete on its own, but these sides take it to the next level:
The Bread Situation
- Crusty sourdough (toasted with butter)
- Warm cornbread with honey butter
- Garlic bread (go ahead, live a little)
- Dinner rolls (the fluffy kind)
Salads That Work
- Simple arugula with lemon vinaigrette
- Caesar salad (for richness)
- Cucumber and tomato salad (for freshness)
Drink Pairings
- Crisp white wine (Pinot Grigio)
- Light red (Pinot Noir)
- Cold beer (lager or pilsner)
- Sparkling water with lemon
FAQ (All Your Burning Questions)
Do I REALLY need to soak the beans overnight?
You don’t need to, but you’ll regret it. Unsoaked beans take 3-4 hours to cook and might never get truly creamy. The quick-soak method works in a pinch, but overnight is king.
Can I just use canned beans and call it a day?
Sure, but the texture won’t be the same. Use 3 cans (15 oz each), drained and rinsed. Add them in the last 30 minutes of cooking. Your total time drops to about 45-60 minutes.
My soup is watery. How do I fix it?
Three options:
- Simmer uncovered for 20-30 minutes to evaporate liquid
- Mash more beans to release starch
- Make a slurry (2 tbsp flour + 1/4 cup cold water), stir in, simmer 5 minutes
Why won’t my beans get soft?
Old beans are the enemy. Check the date on your bag. Also, don’t add acidic ingredients (tomatoes, vinegar, lemon juice) until beans are tender. Acid prevents softening.
Can I make this in a slow cooker?
Absolutely! Sauté veggies on the stove first, then transfer everything to the slow cooker. Cook on low for 8 hours or high for 4-5 hours. Add soaked beans, not dried.
Is this actually good for meal prep?
It’s PERFECT for meal prep. Make a huge batch on Sunday, portion it out, eat it all week. It gets better each day and reheats beautifully.
My kids say they hate beans. Will they eat this?
Blend half the soup smooth and they might not even notice. Or go full smooth and call it “creamy vegetable soup.” Sometimes ignorance is bliss. 😅
Can I add other vegetables?
Go for it! Diced potatoes, chopped kale, or diced tomatoes all work great. Add them in the last 30-45 minutes of cooking.
Wrapping Up
Here’s the thing about bean soup: it’s humble.
It’s not Instagram-fancy or complicated or trying to impress anyone.
It’s just good food that fills you up, warms you from the inside out, and tastes better every single time you reheat it.
Plus, making a giant pot of soup from scratch feels weirdly accomplished? Like, “Yeah, I made this. With my own hands. From actual beans.”
I hope you make this soon. I hope it becomes one of those recipes you turn to on chilly nights when you need something easy and comforting.
And when you do make it, come back and tell me how it went! Did you try any of the variations? Mess anything up and fix it? Have a kid actually ask for seconds?
Drop a comment below. I wanna hear all about it! 🥄