You know what’s ironic?
Most sourdough recipes tell you to throw away perfectly good starter, and then you’re left staring at that gloopy mixture in your trash can wondering if you just committed some kind of bread crime.
I get it. The whole “discard” thing sounds wasteful and honestly kind of ridiculous when you’re trying to be more sustainable in the kitchen.
But here’s where things get interesting 🤫
That sourdough discard you’ve been tossing? It’s literally the secret weapon for making the softest, most flavorful bread you’ve ever pulled out of your oven. And no, you don’t need to babysit a starter for 7 days or master some ancient baking technique.
This recipe is for real people with real schedules who just want really good bread.
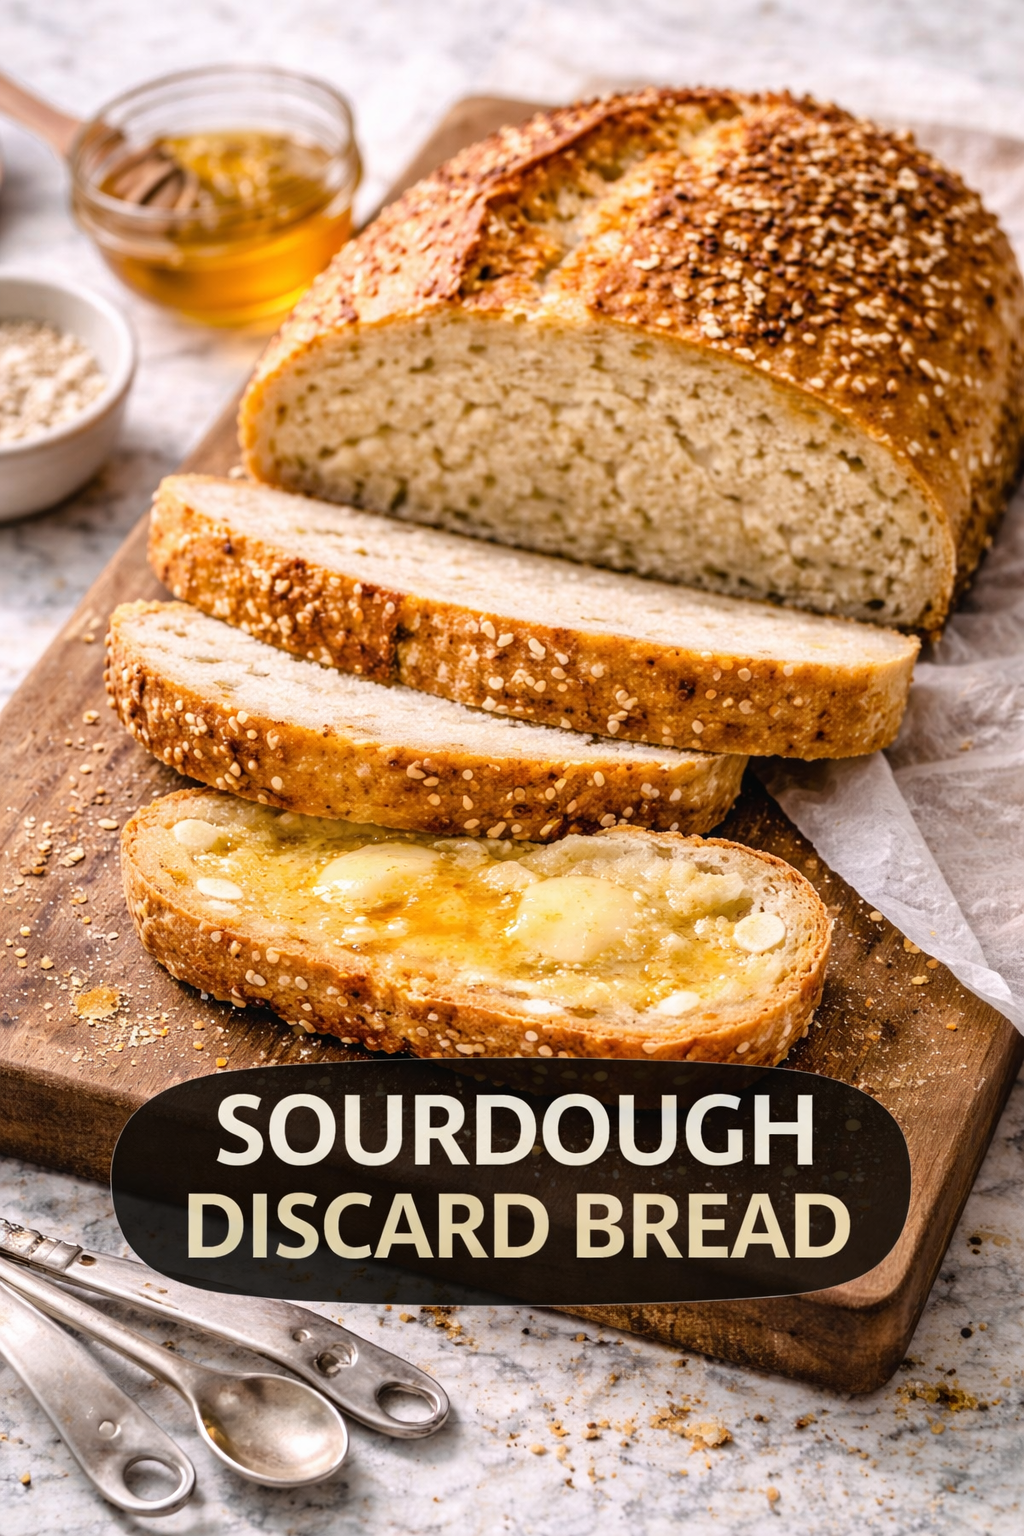
The kind of bread that makes your kitchen smell like a French bakery. The kind that stays soft for days (if it even lasts that long). The kind that makes you feel like you’ve got your life together, even if you’re eating it straight from the loaf at 11pm.
So grab that jar of discard from your fridge. We’re about to turn what everyone else throws away into something you’ll be bragging about to your friends.
What You’ll Need
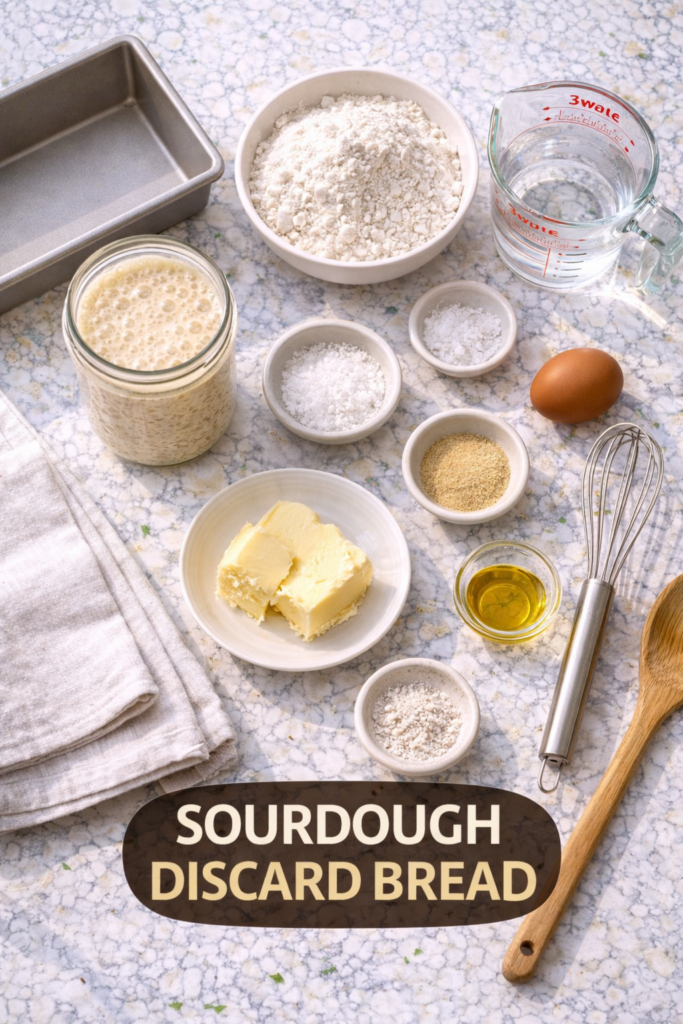
For the Dough:
- 1 cup (240g) active sourdough discard (unfed starter)
- 3 cups (360g) bread flour
- 1 cup (240ml) warm water (around 110°F)
- 2 tablespoons (25g) sugar
- 1½ teaspoons (9g) salt
- 2 tablespoons (28g) softened butter
- 2¼ teaspoons (7g) instant yeast
For the Egg Wash:
- 1 egg
- 1 tablespoon water
Pro Tips
1. Room temperature is your friend. Cold ingredients = dense bread. Take your butter and discard out of the fridge about 30 minutes before you start. Your dough will thank you with better texture and rise.
2. The windowpane test never lies. Stretch a small piece of dough between your fingers. If it forms a thin, translucent membrane without tearing, you’ve kneaded enough. If it rips immediately, keep going for another 2-3 minutes.
3. Don’t skip the second rise. I know you’re excited. I know you want bread NOW. But rushing the second rise gives you hockey pucks instead of fluffy clouds. Trust the process and give it the full 45-60 minutes.
4. Your discard’s age matters (but not as much as you think). Fresh discard (1-3 days old) gives a milder flavor. Week-old discard from the back of your fridge? More tang. Both work perfectly, so use what you have.
5. Steam creates that crispy crust. Place a metal baking pan on the bottom rack while preheating. When you put the bread in, toss 3-4 ice cubes into the hot pan. The steam helps create that bakery-style crust you’re after.
Tools You’ll Need
- Large mixing bowl
- Measuring cups and spoons
- Kitchen scale (optional but helpful)
- Stand mixer with dough hook OR strong arms for hand kneading
- 9×5 inch loaf pan
- Clean kitchen towel
- Pastry brush (for egg wash)
- Instant-read thermometer (optional but recommended)
- Bench scraper or knife for shaping
How to Make Sourdough Discard Bread

Step 1: Wake Up Your Ingredients
Combine the warm water, sugar, and yeast in your mixing bowl. Stir it together and let it sit for about 5 minutes.
You’ll know it’s ready when it gets foamy on top. If nothing happens, your yeast is probably dead and you’ll need to start over with fresh yeast.
Step 2: Build the Dough
Add the sourdough discard to the yeast mixture and whisk until combined. It’ll look weird and lumpy. That’s totally normal.
Dump in the flour and salt. If using a stand mixer, attach the dough hook and mix on low speed for 2-3 minutes until everything comes together into a shaggy mass.
Add the softened butter and continue mixing for another 8-10 minutes on medium speed. The dough should pull away from the sides of the bowl and feel smooth and elastic.
Kneading by hand? Turn the dough out onto a lightly floured surface and knead for 10-12 minutes. You want it smooth, slightly tacky but not sticky.
Step 3: First Rise
Shape your dough into a ball and place it in a lightly greased bowl. Cover with a damp kitchen towel or plastic wrap.
Let it rise in a warm spot until doubled in size. This usually takes 60-90 minutes depending on your kitchen temperature.
Your oven with just the light on makes a perfect proofing spot. Or near a sunny window works great too.
Step 4: Shape Your Loaf
Punch down the dough (satisfying, right?) and turn it out onto a lightly floured surface.
Pat it into a rectangle about 8 inches wide. Starting from the short end, roll it up tightly like a jelly roll. Pinch the seams closed.
Place seam-side down in your greased loaf pan. The ends should just touch the sides of the pan.
Step 5: Second Rise
Cover the pan with your towel again and let it rise for 45-60 minutes. You want the dough to dome about 1 inch above the rim of the pan.
Don’t let it over-proof or it’ll collapse in the oven. Set a timer.
While you’re waiting, preheat your oven to 375°F.
Step 6: Egg Wash and Bake
Whisk together the egg and water. Gently brush it over the top of your risen dough. This gives you that gorgeous golden-brown color.
If you want, make a few diagonal slashes across the top with a sharp knife. Totally optional but looks professional.
Bake for 35-40 minutes until deep golden brown. The internal temperature should read 190°F if you’re using a thermometer.
Step 7: The Hardest Part
Remove from the oven and let it sit in the pan for 10 minutes. Then turn it out onto a wire rack.
Here’s where your willpower gets tested. You need to wait at least 20-30 minutes before slicing into it. Cutting too early releases all the steam and you’ll end up with gummy bread.
I know. I’ve failed this test many times. But when you do wait, the texture is absolutely perfect.
Substitutions and Variations
Whole Wheat Twist: Replace up to 1 cup of the bread flour with whole wheat flour. You might need to add 2-3 tablespoons more water since whole wheat absorbs more liquid.
Herb and Garlic: Mix in 2 teaspoons dried Italian herbs and 3 minced garlic cloves during the final minute of kneading. Game changer for sandwiches.
Seeded Crust: Before the egg wash, brush the top with water and sprinkle with sesame seeds, poppy seeds, or everything bagel seasoning.
Dairy-Free: Swap the butter for olive oil or melted coconut oil. Works just as well.
Honey Instead of Sugar: Use 2 tablespoons of honey instead of sugar for a slightly different flavor profile. The bread will also brown a bit faster.
Cinnamon Raisin: Add 1 cup raisins and 2 teaspoons cinnamon to the dough. Brush the shaped loaf with melted butter and sprinkle with cinnamon sugar before baking.
Make Ahead Tips
You can prep this dough the night before using the cold fermentation method.
After the first rise, punch down the dough, shape it into a ball, and put it in an oiled container with a tight lid. Refrigerate overnight (8-12 hours).
The next morning, take it out, shape it into a loaf, and do the second rise at room temperature (this will take about 90 minutes since the dough is cold). Then bake as directed.
The flavor will be more complex with this method since the dough has more time to develop.
Nutritional Information
Per slice (based on 12 slices per loaf):
- Calories: 168
- Carbohydrates: 30g
- Protein: 5g
- Fat: 3g
- Fiber: 1g
- Sugar: 2g
- Sodium: 295mg
Keep in mind these are estimates. The type of flour you use and how thick you slice will affect the numbers.
Pairing Suggestions
This bread is perfect for:
- Classic PB&J sandwiches
- Avocado toast with everything bagel seasoning
- French toast on Saturday mornings
- Grilled cheese with tomato soup
- BLTs with extra mayo
- Just butter and flaky sea salt (don’t underestimate this one)
It’s also fantastic for bread pudding if you somehow have leftovers.
Leftovers and Storage
At Room Temperature: Keep the bread in an airtight container or resealable plastic bag for up to 3 days. Don’t refrigerate it unless you want it to go stale faster. Science is weird like that.
Freezing: Slice the cooled loaf and stack the slices with parchment paper between them. Wrap tightly in plastic wrap, then aluminum foil. Freeze for up to 3 months.
Pull out individual slices and toast them straight from frozen. Takes about the same time as fresh bread and tastes just as good.
Reviving Day-Old Bread: Wrap the loaf in aluminum foil and warm it in a 300°F oven for 10-15 minutes. It’ll taste freshly baked.
For individual slices, a quick 20 seconds in the microwave wrapped in a damp paper towel brings back that soft texture.
FAQ
Can I use sourdough starter instead of discard? Absolutely. The discard is just unfed starter. If your starter is active and bubbly, it’ll work even better.
Why do I need commercial yeast if I’m using sourdough discard? The discard adds flavor but isn’t active enough to make the bread rise in a reasonable timeframe. The commercial yeast gives you that reliable rise without waiting 12-18 hours.
My dough is too sticky. What do I do? Add flour 1 tablespoon at a time until it’s smooth and elastic. But don’t go overboard or your bread will be dense. Slightly tacky is actually what you want.
Can I make this without a stand mixer? 100%. Hand kneading works great. It just takes a bit longer and gives your arms a workout.
What if I don’t have bread flour? All-purpose flour works fine. Your bread will be slightly less chewy, but still delicious.
How do I know when it’s done baking? Tap the bottom of the loaf. It should sound hollow. Or use a thermometer and aim for 190°F internal temperature.
Can I make rolls instead of a loaf? Yes! After the first rise, divide the dough into 12 equal pieces. Shape into balls and place in a greased 9×13 pan. Second rise will take about 30-40 minutes, and baking time drops to 20-25 minutes.
My bread collapsed in the oven. What happened? Probably over-proofed during the second rise. Next time, bake it when the dough is just barely doming over the pan rim.
Can I add mix-ins like cheese or jalapeños? Definitely. Fold them in gently during the last minute of kneading. Up to 1 cup of add-ins won’t mess with the structure.
Wrapping Up
There’s something deeply satisfying about pulling a golden loaf of bread from your oven, especially when it started as something you almost threw away.
This sourdough discard bread is proof that the “waste” in your fridge has serious potential. It’s soft enough for sandwiches, sturdy enough for toast, and flavorful enough to eat plain.
And here’s the real talk: once you make this recipe, you’ll start feeding your sourdough starter more often just to have discard for this bread. I’m not even joking.
So grab that jar from the back of your fridge. Get your hands a little floury. And make something that’ll have people asking for the recipe.
Then come back and tell me how it turned out. Did you add anything fun? Did your kitchen smell amazing? Did you eat half the loaf before it even cooled?
Drop a comment below and let me know 👇