You know that feeling when you find a recipe that completely changes your mind about something?
That’s what happened to me with white chicken chili.
I grew up on the classic red version. The kind that’s thick, hearty, and leaves you completely satisfied. But then I tried white chicken chili at a friend’s house, and I was genuinely shocked at how good it was.
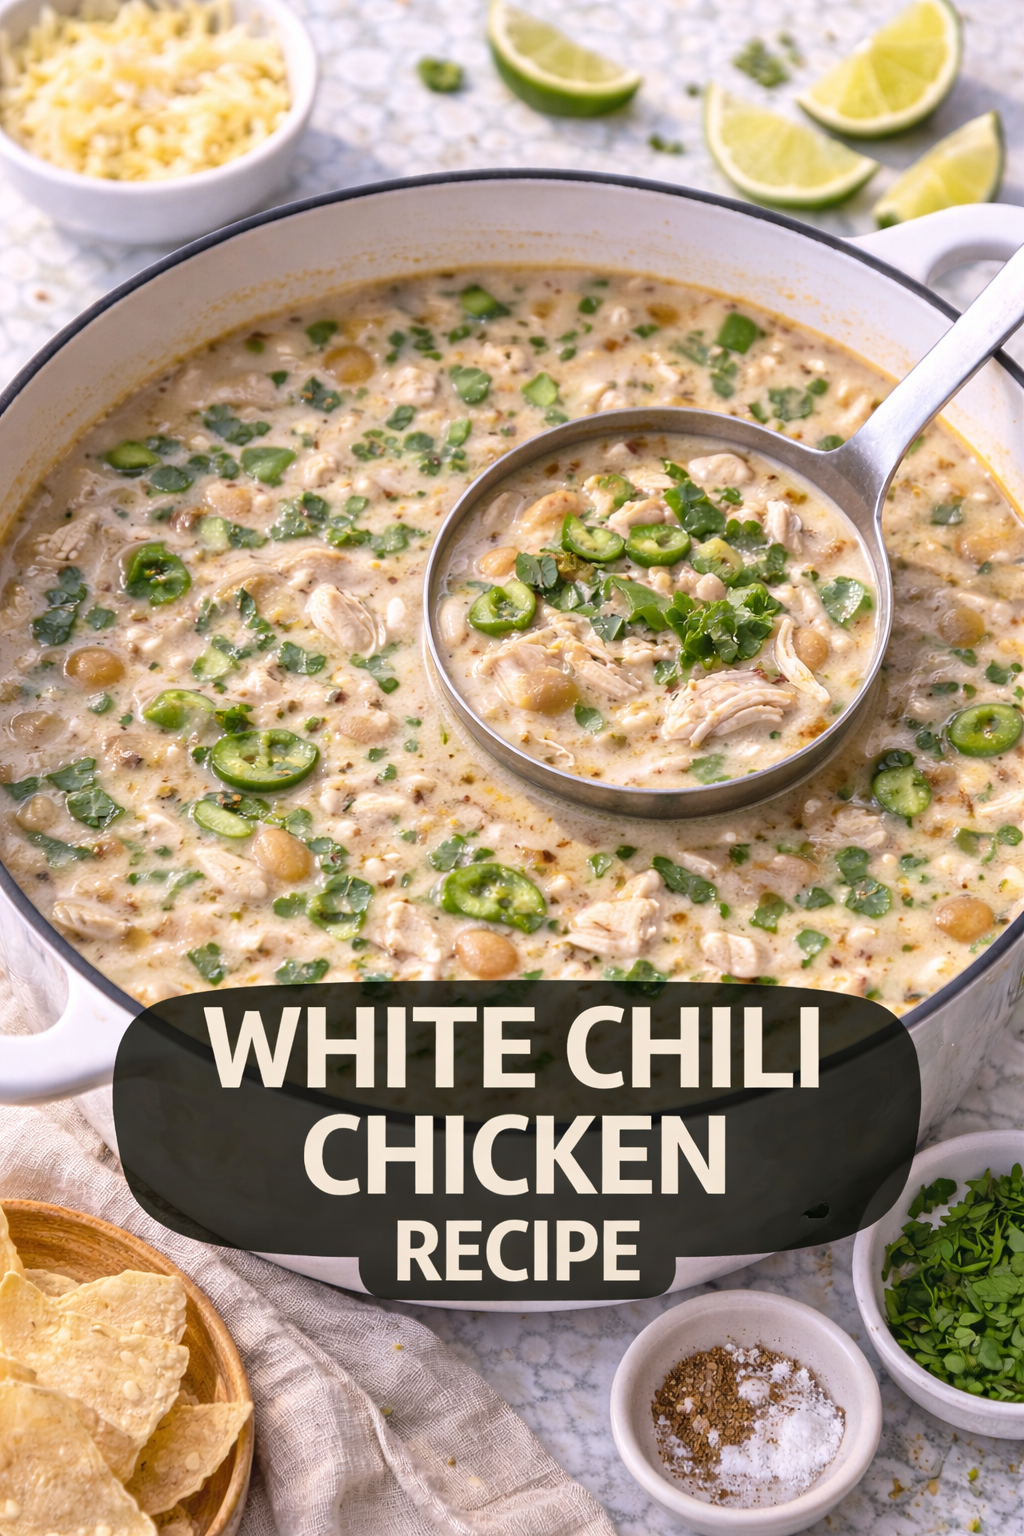
It’s creamy without being heavy. It’s loaded with tender chicken and white beans. And the flavor? It’s this perfect balance of mild heat, smokiness, and comfort that makes you want to eat bowl after bowl.
The thing I love most is how forgiving it is. You can make it spicy or mild. Add more beans or less. Throw in corn or skip it. It adapts to what you have in your kitchen and still turns out incredible.
I’ve been making this recipe on repeat for years now, and it never gets old.
What You’ll Need
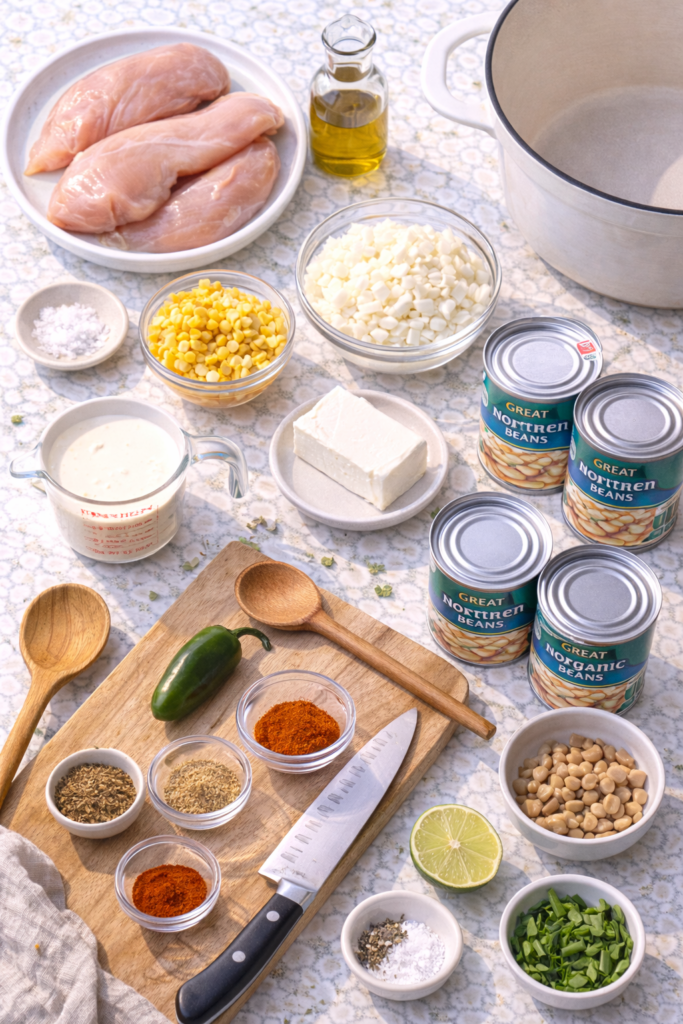
For the Chili Base
- 2 tablespoons olive oil
- 1.5 lbs boneless, skinless chicken breasts
- 1 medium yellow onion, diced
- 4 cloves garlic, minced
- 2 (4 oz) cans diced green chiles
- 1 jalapeño, seeded and diced (optional)
- 1 tablespoon ground cumin
- 1 teaspoon dried oregano
- 1/2 teaspoon smoked paprika
- 1/4 teaspoon cayenne pepper
- Salt and black pepper to taste
For the Liquid
- 4 cups chicken broth (low sodium works best)
- 3 (15 oz) cans great northern beans, drained and rinsed
- 1 cup frozen corn kernels
- 1 cup heavy cream or half-and-half
- 4 oz cream cheese, softened
- Juice of 1 lime
For Topping
- Shredded Monterey Jack cheese
- Sour cream
- Fresh cilantro, chopped
- Sliced jalapeños
- Tortilla chips or strips
- Avocado, diced
- Extra lime wedges
Pro Tips
Cook the chicken separately first. I know it seems like extra work, but trust me on this. Searing the chicken before adding it to the pot gives you way better flavor and texture. Plus, you can shred it more easily when it’s already cooked.
Don’t skip the cream cheese. This is the secret ingredient that makes the chili extra creamy and rich. Regular heavy cream is good, but cream cheese takes it to another level. Make sure it’s softened before adding it so it blends in smoothly.
Layer your spices. Add half the cumin and oregano at the beginning when you’re cooking the onions, then add the rest later. This creates a deeper, more complex flavor that you just can’t get by dumping everything in at once.
Let it rest before serving. I know you’re hungry, but letting the chili sit for 10-15 minutes after cooking makes a huge difference. The flavors meld together and the texture gets even better.
Fresh lime juice is non-negotiable. The acidity from fresh lime juice brightens everything up and balances the richness. Bottled lime juice just doesn’t cut it here.
Tools You’ll Need
- Large Dutch oven or heavy-bottomed pot
- Sharp knife and cutting board
- Wooden spoon or silicone spatula
- Measuring cups and spoons
- Can opener
- Two forks for shredding chicken
- Ladle for serving
Substitutions and Variations
For the chicken: You can swap chicken breasts for thighs if you prefer darker meat. Rotisserie chicken works great too and saves time. Just shred about 3 cups of meat and skip the cooking step.
For the beans: Great northern beans are my favorite, but cannellini beans or navy beans work just as well. You can even mix different types if that’s what you have on hand.
For the cream: If you want to lighten it up, use half-and-half instead of heavy cream. Greek yogurt stirred in at the end also works, but add it off the heat to prevent curdling.
For heat levels: Want it milder? Skip the jalapeño and cayenne, and use mild green chiles. Want it spicier? Keep the jalapeño seeds in, add a diced serrano pepper, or stir in some hot sauce at the end.
To make it dairy-free: Use coconut cream instead of heavy cream and skip the cream cheese. It’ll have a slightly different flavor but still tastes amazing.
Add-ins I love: A cup of diced poblano peppers, a can of white hominy for extra texture, or some shredded zucchini if you want more veggies.
Make Ahead Tips
This chili actually tastes better the next day after all the flavors have had time to hang out together.
You can make it up to 3 days ahead and store it in the fridge. Just wait to add the cream and cream cheese until you’re reheating it. This keeps the texture from getting weird.
If you want to prep even further ahead, you can cook and shred the chicken, dice all your veggies, and measure out your spices up to 2 days in advance. Store everything separately in the fridge and then it comes together super quickly on cooking day.
The chili also freezes beautifully. Make a double batch and freeze half for later. Again, hold off on adding the dairy until you’re reheating. It’ll keep in the freezer for up to 3 months.
How to Make White Chicken Chili

Step 1: Cook the Chicken
Heat 1 tablespoon of olive oil in your Dutch oven over medium-high heat.
Season both sides of the chicken breasts with salt and pepper.
Once the oil is shimmering, add the chicken. Let it cook undisturbed for 5-6 minutes until it gets a nice golden color on the bottom.
Flip and cook for another 5-6 minutes until the chicken is cooked through (internal temp should hit 165°F).
Remove the chicken to a plate and set it aside. Don’t clean the pot. All those browned bits are pure flavor.
Step 2: Sauté the Aromatics
Lower the heat to medium and add the remaining tablespoon of olive oil to the same pot.
Toss in the diced onion and cook for about 4-5 minutes, stirring occasionally. You want it soft and translucent.
Add the garlic and cook for another minute until it smells amazing. Stir constantly so it doesn’t burn.
Step 3: Build the Flavor Base
Add the green chiles and jalapeño (if using) to the pot. Stir everything together.
Now add half of your cumin, oregano, smoked paprika, and cayenne. Let the spices toast in the pot for about a minute. This wakes up their flavor.
Season with a good pinch of salt and some black pepper.
Step 4: Add the Liquid and Beans
Pour in the chicken broth and scrape up any browned bits stuck to the bottom of the pot.
Add the beans and corn. Stir everything together and bring it to a boil.
Once it’s boiling, reduce the heat to low and let it simmer.
Step 5: Shred and Add the Chicken
While the chili is simmering, use two forks to shred the chicken you cooked earlier. It should pull apart easily.
Add the shredded chicken back into the pot along with the remaining cumin and oregano.
Let everything simmer together for about 20 minutes. This gives the flavors time to develop and the chili time to thicken slightly.
Step 6: Make it Creamy
After 20 minutes, stir in the softened cream cheese. Keep stirring until it’s completely melted and incorporated.
Pour in the heavy cream and stir.
Let it simmer for another 5-10 minutes until the chili reaches your desired thickness.
Taste and adjust the seasoning. This is when you add more salt, pepper, or spices if needed.
Step 7: Finish and Serve
Turn off the heat and squeeze in the fresh lime juice. Stir it through.
Let the chili sit for 10-15 minutes before serving. This really does make a difference.
Ladle into bowls and set up your toppings bar. Let everyone customize their own bowl with cheese, sour cream, cilantro, avocado, and tortilla chips.
Nutritional Information
Per serving (based on 6 servings):
- Calories: 425
- Protein: 35g
- Carbohydrates: 32g
- Fat: 18g
- Fiber: 8g
- Sodium: 680mg
Note: Nutritional values are approximate and don’t include toppings
What to Serve With White Chicken Chili
This chili is honestly filling enough to eat on its own, but if you want to make it a full meal, here are some good pairings:
Cornbread is the classic choice. Sweet or savory, it doesn’t matter. Both work.
Tortilla chips for dipping make it feel more like a fiesta.
A simple green salad with lime vinaigrette balances out the richness.
Mexican street corn (elote) on the side is chef’s kiss.
Quesadillas made with flour tortillas and whatever cheese you have.
Rice cooked with a bit of lime juice and cilantro mixed in.
Leftovers and Storage
Store leftover chili in an airtight container in the fridge for up to 4 days.
When reheating, do it gently over medium-low heat on the stove. Add a splash of chicken broth if it’s gotten too thick. Microwaving works too, but the stovetop gives you better texture.
The chili thickens as it sits (the beans continue to absorb liquid), so you’ll probably need to thin it out a bit when reheating.
For freezing, let the chili cool completely first. Store it in freezer-safe containers or heavy-duty freezer bags, leaving about an inch of space at the top for expansion.
Thaw overnight in the fridge before reheating. If you forgot to thaw it, you can reheat it straight from frozen on the stovetop. Just use low heat and stir often, adding extra broth as needed.
Creative Ways to Use Leftovers
Don’t just reheat and eat. Get creative.
Chili cheese fries: Pour the chili over crispy fries and top with shredded cheese.
Stuffed baked potatoes: Split a baked potato and load it up with chili, cheese, and sour cream.
Chili nachos: Layer tortilla chips with chili, cheese, jalapeños, and any other toppings you love.
Breakfast burritos: Scramble some eggs and wrap them in a tortilla with chili and cheese.
Chili mac: Mix the chili with cooked pasta for an easy comfort meal.
Frequently Asked Questions
Can I use chicken thighs instead of breasts?
Yes! Chicken thighs have more fat, which means more flavor. They’re also harder to overcook, so they stay juicy. Use the same amount (1.5 lbs) and cook them the same way.
Why is my chili watery?
A few things can cause this. You might not have simmered it long enough, or you added too much broth. Let it simmer uncovered for an extra 10-15 minutes to reduce the liquid. You can also mash some of the beans against the side of the pot to help thicken it.
Can I make this in a slow cooker?
Absolutely. Sear the chicken first, then shred it. Add everything except the cream, cream cheese, and lime to your slow cooker. Cook on low for 6-8 hours or high for 3-4 hours. Stir in the cream, cream cheese, and lime juice during the last 30 minutes of cooking.
How do I know when it’s done?
When the chicken is tender and shreds easily, the beans are heated through, and the flavors have melded together. Usually about 30-40 minutes of total simmering time after adding all the ingredients.
Can I use dried beans instead of canned?
You can, but you’ll need to cook them separately first. Soak 1.5 cups of dried great northern beans overnight, then cook them until tender (about 1.5 hours). Then use them in the recipe as you would canned beans.
What if I don’t have green chiles?
You can skip them, but they add a nice mild heat and flavor. If you don’t have them, add an extra jalapeño or use a can of diced tomatoes with green chiles. The flavor will be slightly different but still good.
How can I make this spicier without adding more heat?
Add hot sauce or chipotle peppers in adobo sauce. Start with a little and taste as you go. You want to build the heat gradually.
Is this keto-friendly?
Not as written because of the beans and corn. But you can make a keto version by swapping the beans for cauliflower florets and skipping the corn. Add extra chicken to make up for the protein from the beans.
Wrapping Up
There’s something really comforting about a big pot of white chicken chili simmering on the stove.
It fills your house with the most incredible smell. It’s warm and satisfying. And it’s one of those recipes that makes you feel like you really know what you’re doing in the kitchen, even if you’re still learning.
Make a batch this week. Top it with everything you love. And enjoy it with people who matter to you.
I’d love to hear how yours turns out. Drop a comment below and let me know if you made any fun tweaks or additions. And if you have questions before you start cooking, ask away.