Two ingredients. That’s all it takes to make a coffee ice cream so deeply rich it’ll make you wonder why you ever bought the grocery store version.
No ice cream machine. No complicated custard. No standing over a hot stove.
This is the recipe that changed how I think about homemade ice cream entirely. And once you try it, you’ll get it too.
What if the creamiest, most intense coffee ice cream you’ve ever had came out of your own freezer? Keep reading, because you’re about to find out exactly how that happens.
Why This Recipe Works
Most homemade ice cream recipes ask you to make a custard base, temper eggs, and babysit a pot for 20 minutes. That’s a lot for a Tuesday.
This version skips all of that.
The base is just heavy whipping cream and sweetened condensed milk. The cream gets whipped until thick and fluffy, then folded together with the condensed milk and your coffee mixture. That’s it.
The whipped cream traps air, so the final texture is light but scoopable. The condensed milk gives sweetness and a creamy richness that holds up beautifully in the freezer without turning icy.
One thing people don’t realize: the stronger your coffee, the better the ice cream. Weak espresso = muted flavor. This is not the time to be subtle about coffee. ☕
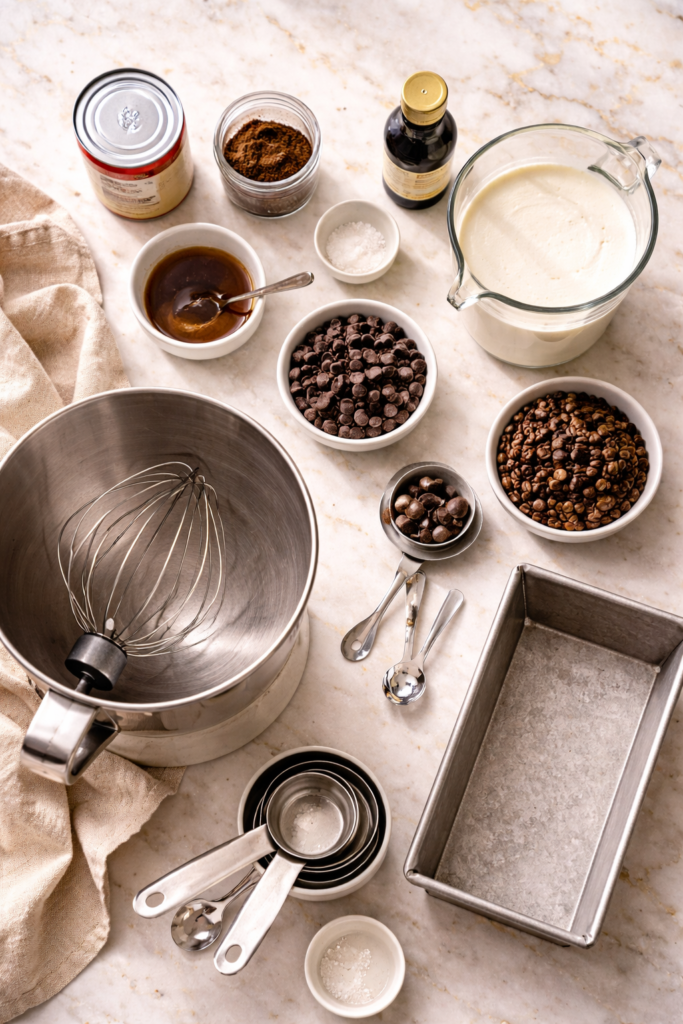
What You’ll Need
For the ice cream base
- 2 cups (480ml) heavy whipping cream, very cold
- 1 can (14 oz / 397g) sweetened condensed milk
- 2 tablespoons instant espresso powder
- 2 tablespoons hot water (to dissolve the espresso)
- 1 teaspoon pure vanilla extract
- ¼ teaspoon fine sea salt
Optional mix-ins
- ½ cup dark chocolate chips or chopped dark chocolate
- ¼ cup crushed chocolate-covered espresso beans
- ½ teaspoon cinnamon (for a mocha-spice vibe)
Tools You’ll Need
- Stand mixer or hand mixer with whisk attachment
- Large mixing bowl (chilled if possible)
- Silicone spatula
- Small bowl or ramekin (for dissolving the espresso)
- 9×5 inch loaf pan (or any freezer-safe container with a lid)
- Plastic wrap or parchment paper (to press against the surface)
- Measuring cups and spoons
Pro Tips
A few things that make a real difference, especially if this is your first time making no-churn ice cream:
- Cold cream = better whip. Put your mixing bowl and whisk attachment in the freezer for 15 minutes before you start. Cold equipment makes the cream whip faster and hold its volume better.
- Don’t over-mix once you add the condensed milk. Fold it in gently with a spatula. If you use the mixer, you risk deflating all that air you just whipped in and end up with a denser texture.
- Espresso powder vs. brewed coffee. Espresso powder gives a much more concentrated coffee flavor with no extra liquid to mess with the texture. If you substitute brewed coffee, reduce heavy cream by the same amount or your ice cream may not set properly.
- Press plastic wrap directly onto the surface. Before sealing the container, press a piece of plastic wrap right against the ice cream. This prevents ice crystals from forming on top.
- Give it a full 6 hours. It’ll look set after 4 hours, but 6+ hours gives you that proper scoopable texture. Overnight is even better.
How to Make Coffee Ice Cream
The whole process takes about 15 minutes of active time. Then you just wait.
1
Dissolve the espresso. In a small bowl, mix the instant espresso powder with 2 tablespoons of hot water. Stir until fully dissolved, then set aside to cool completely. It should look like a thick, dark paste.
2
Make the condensed milk mixture. In a separate bowl, whisk together the sweetened condensed milk, cooled espresso mixture, vanilla extract, and sea salt until combined. Set aside.
3
Whip the cream. Using your chilled bowl and whisk attachment, whip the heavy cream on medium-high until stiff peaks form. This takes about 3 to 4 minutes. You’ll know it’s ready when the cream holds a firm shape and doesn’t slide around in the bowl.
4
Fold everything together. Pour the condensed milk mixture over the whipped cream. Using a silicone spatula, fold gently in long sweeping motions from the bottom up. Stop as soon as it’s combined. A few streaks are fine.
5
Add mix-ins if using. Fold in chocolate chips, espresso beans, or cinnamon here if you’re going that route.
6
Transfer to your container. Pour the mixture into a 9×5 loaf pan or freezer-safe container. Smooth the top with a spatula.
7
Cover and freeze. Press plastic wrap directly onto the surface of the ice cream, then cover the container with a lid or more plastic wrap. Freeze for at least 6 hours, or overnight.
8
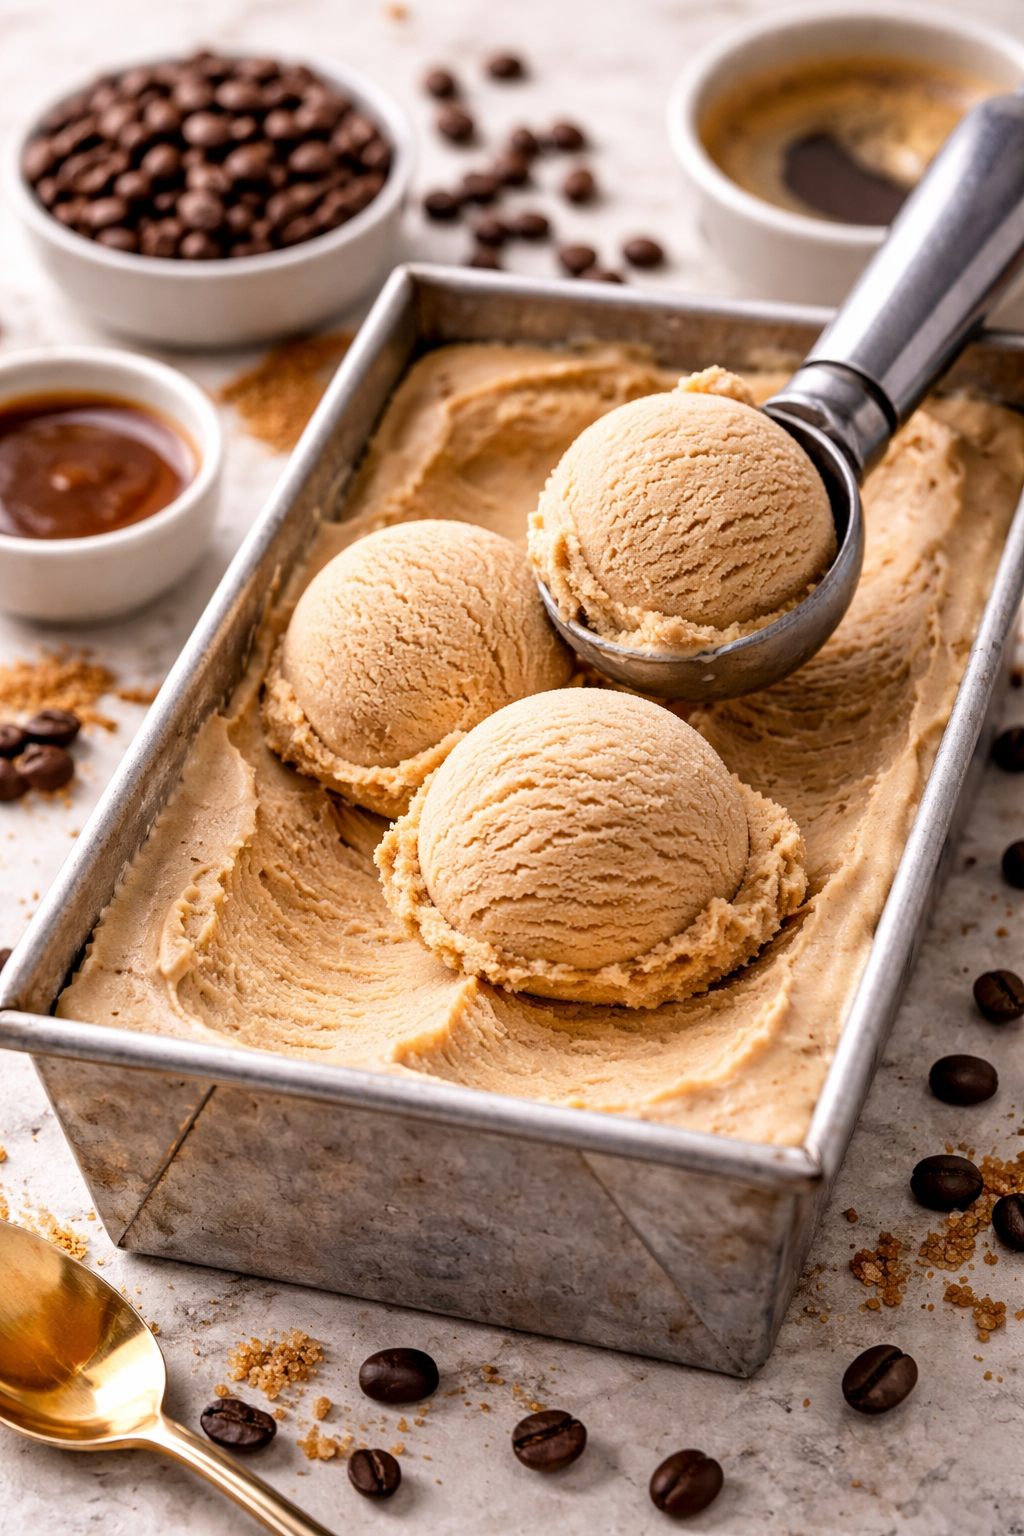
Scoop and serve. Let the container sit at room temperature for 5 minutes before scooping. This makes it easier to get those perfect, round scoops.

Substitutions & Variations
This recipe is flexible. Here’s how to tweak it based on what you have or what you’re craving:
| Swap | Use Instead | Notes |
|---|---|---|
| Instant espresso powder | Strong brewed espresso (cooled) | Use 3 tbsp; reduce cream by same amount |
| Sweetened condensed milk | Sweetened condensed coconut milk | Makes it dairy-free; texture is slightly softer |
| Heavy whipping cream | Full-fat coconut cream (chilled) | Dairy-free option; use the solid part only |
| Vanilla extract | Kahlúa or coffee liqueur | Use 1 tbsp for a boozy version |
| Plain base | Add 3 tbsp cocoa powder | Makes a mocha ice cream version |
Want a Vietnamese coffee version? Swap the sweetened condensed milk for sweetened condensed coconut milk and add a pinch of cardamom. The flavor is incredible.
Make Ahead Tips
This is genuinely one of the best make-ahead desserts out there.
- Make the ice cream up to 2 weeks ahead. It keeps beautifully in the freezer.
- Dissolve the espresso and mix with the condensed milk up to 3 days ahead, then refrigerate until ready to use.
- If making for a dinner party, scoop into individual cups or glasses beforehand and keep them in the freezer. Pull them out right when you serve dessert. Zero last-minute stress.
Nutritional Breakdown
Per serving (based on 8 servings, plain base without mix-ins)
| Nutrient | Amount |
|---|---|
| Calories | ~310 kcal |
| Total Fat | 22g |
| Saturated Fat | 14g |
| Carbohydrates | 26g |
| Sugar | 25g |
| Protein | 4g |
| Caffeine | ~30-40mg per serving |
The caffeine content is real, by the way. If you’re sensitive, this is not a late-night dessert. 😅
Meal Pairing Suggestions
Coffee ice cream is already a strong standalone dessert, but a few combinations that are genuinely next-level:
- Affogato style: Pour a hot shot of espresso over a scoop right before eating. The cream melts into the coffee and it’s a whole experience.
- With warm brownies: The hot-cold contrast is unbeatable.
- Alongside tiramisu: Double the coffee, double the win.
- With a simple chocolate sauce: Just melt dark chocolate with a splash of cream. Done.
Leftovers & Storage
- Store in an airtight, freezer-safe container with plastic wrap pressed against the surface.
- Keeps well for up to 2 weeks in the freezer.
- After 2 weeks, it’s still safe to eat but the texture starts getting icier.
- Let it sit at room temperature for 5 minutes before scooping if it’s too hard.
- Do not refreeze after it’s fully melted.
FAQ
Can I make this without an ice cream machine?
Yes, and that’s the whole point. No machine needed at all. The whipped cream does the work here.
Why is my ice cream icy instead of creamy?
A few possible causes: the cream wasn’t whipped to stiff peaks, the condensed milk mixture was too warm when mixed in, or the container wasn’t fully sealed during freezing. Make sure everything is cold and that plastic wrap is pressed directly onto the surface before freezing.
Can I use decaf espresso powder?
Absolutely. The flavor will be identical. Just make sure it’s a good quality espresso powder since the taste is concentrated in this recipe.
How much caffeine is actually in this?
Around 30–40mg per serving, roughly the same as half a cup of coffee. Worth keeping in mind if you’re serving it to kids or eating it late at night.
Can I double the recipe?
Yes. Just use two loaf pans or a larger container. Doubling works perfectly with no adjustments needed.
What’s the best way to get clean scoops?
Let the ice cream sit at room temperature for 5 minutes, then run your ice cream scoop under hot water before each scoop. Makes a huge difference.
Can I add alcohol?
Yes. A tablespoon of Kahlúa, Baileys, or even dark rum works great. A small amount of alcohol also slightly lowers the freezing point, which actually makes the texture a touch softer and creamier. Don’t go overboard though, too much and it won’t freeze properly.
Wrapping Up
If you’ve been sleeping on homemade ice cream because you thought it required a machine, a whole afternoon, or professional skills, this recipe is the one that changes that.
It’s 15 minutes of work and a few hours of patience. That’s it.
The flavor is deeper than anything you’ll find in a store. The texture is legitimately creamy. And the satisfaction of pulling a container of your own coffee ice cream out of the freezer is a small but real kind of joy.
Make it this weekend. Then come back and drop a comment below telling me how it went, what mix-ins you tried, or any questions you have along the way. I read every single one. 🤎


