Ever stood in front of your fridge at 10 PM debating if you should make a whole cheesecake just for yourself?
Same.
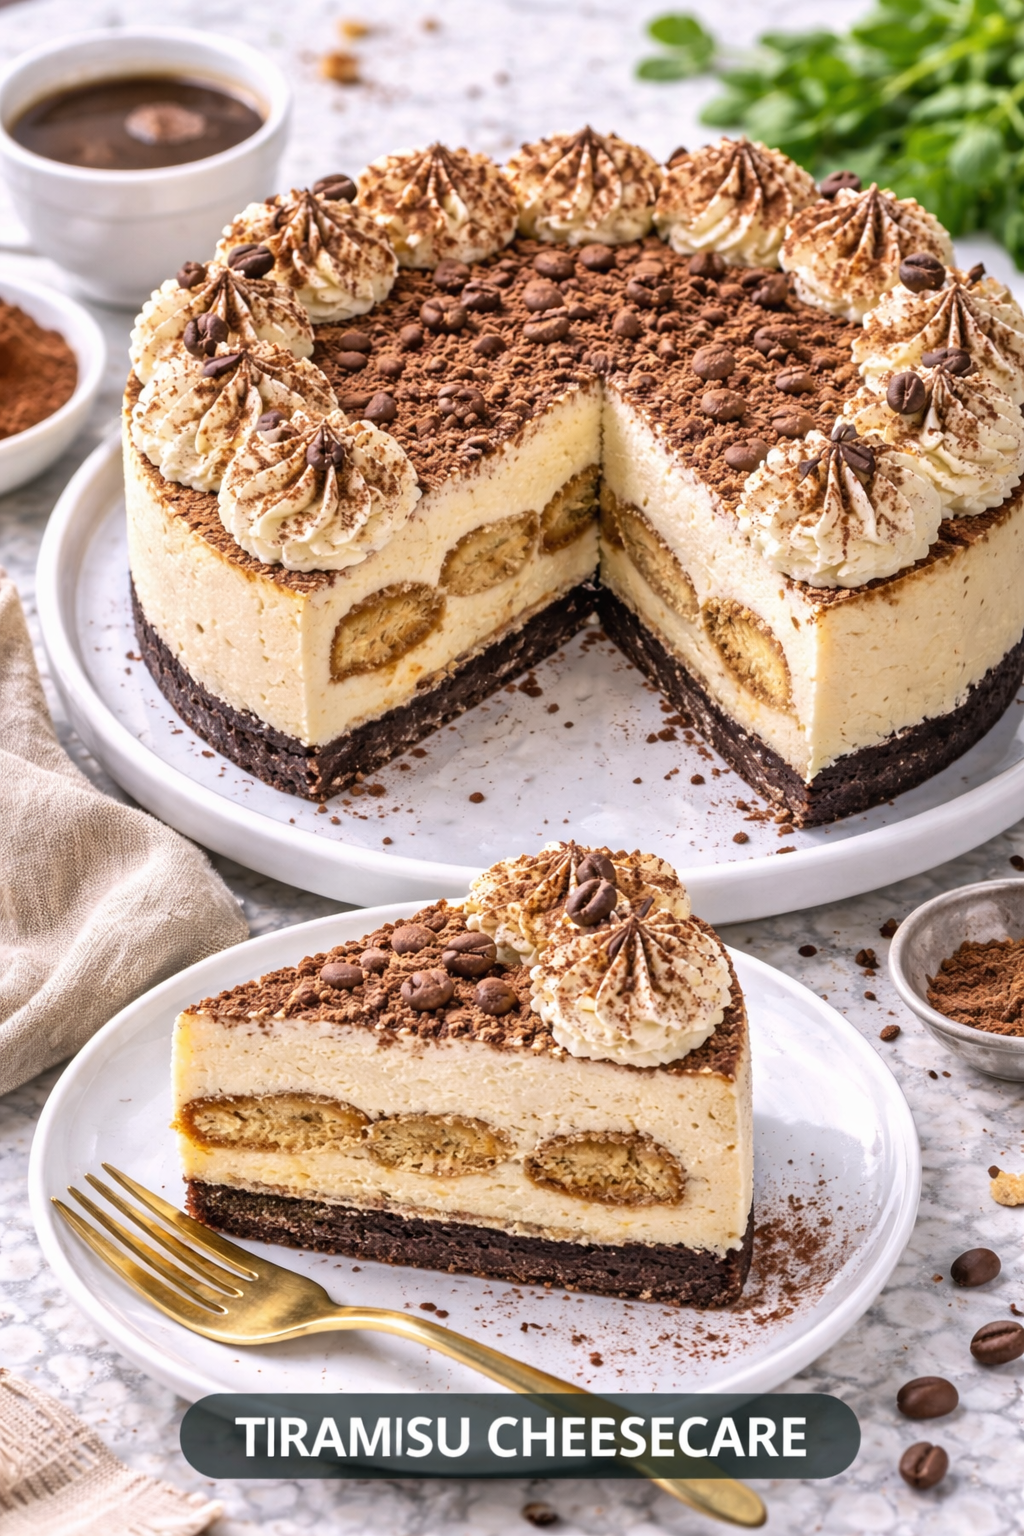
But here’s the thing: when that cheesecake is a mashup of two iconic desserts, the debate gets a lot shorter. Tiramisu cheesecake takes everything you love about the Italian classic and turns it into something you can slice, serve, and pretend you’re sharing (you won’t).
I’m talking layers of espresso-soaked ladyfingers, a creamy mascarpone cheesecake filling, and a dusting of cocoa that makes it look like you spent hours on it. Spoiler: you didn’t.
This isn’t one of those recipes that requires a culinary degree or ingredients you can’t pronounce. It’s straightforward, it’s foolproof, and it tastes like you ordered it from a fancy Italian bakery.
So grab your springform pan and let’s turn your kitchen into a dessert destination.
What You’ll Need
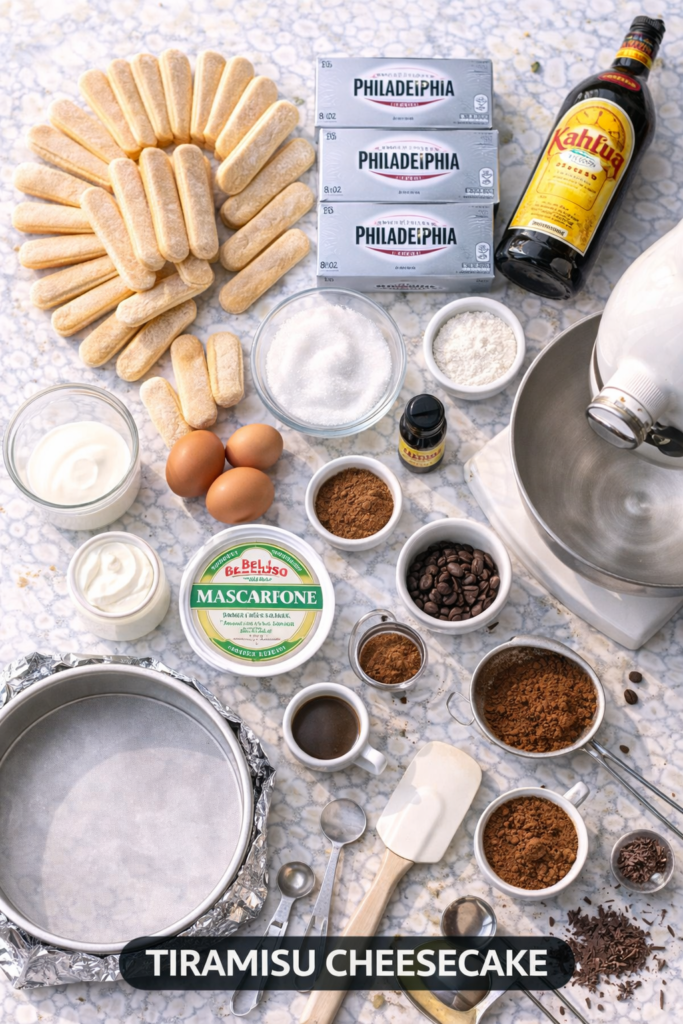
For the Crust:
- 24 ladyfinger cookies (savoiardi)
- 1/4 cup strong brewed espresso (cooled)
- 2 tablespoons coffee liqueur (Kahlúa works great)
- 1 tablespoon granulated sugar
For the Cheesecake Filling:
- 24 oz cream cheese (room temperature, seriously don’t skip this)
- 8 oz mascarpone cheese (also room temperature)
- 1 cup granulated sugar
- 3 large eggs (room temperature)
- 2 tablespoons all-purpose flour
- 1/4 cup sour cream
- 2 teaspoons vanilla extract
- 1 tablespoon instant espresso powder
- 2 tablespoons coffee liqueur
For the Topping:
- 1/4 cup unsweetened cocoa powder
- Dark chocolate shavings (optional but looks impressive)
Tools You’ll Need
Here’s what you’ll want to have ready before you start:
- 9-inch springform pan
- Electric mixer (stand or hand mixer both work)
- Mixing bowls (at least 2 medium-sized)
- Rubber spatula
- Measuring cups and spoons
- Coffee grinder or mortar and pestle (for espresso powder if using beans)
- Aluminum foil (for the water bath)
- Large roasting pan (for the water bath)
- Pastry brush (for soaking the ladyfingers)
- Fine mesh sieve (for dusting cocoa)
Pro Tips
Bring everything to room temperature. Cold cream cheese = lumpy filling. Let your cream cheese, mascarpone, and eggs sit out for at least an hour. Your arm muscles will thank you when mixing.
Don’t over-soak the ladyfingers. A quick dip is all you need. If they get too soggy, they’ll turn into mush and your crust will be sad. Two seconds per side, tops.
Use a water bath. I know it sounds fancy and annoying, but it prevents cracks. Wrap your springform pan in aluminum foil, set it in a roasting pan, and pour hot water halfway up the sides. Game changer.
Let it chill completely. This dessert needs at least 6 hours in the fridge (overnight is better). Cutting into it too soon will give you a messy slice instead of the clean, Instagram-worthy piece you deserve.
Dust the cocoa right before serving. If you do it too early, the moisture from the cheesecake will make it look sad and streaky. Wait until your guests are already seated.
Instructions
Step 1: Prep Your Pan
Preheat your oven to 325°F.
Line the bottom of your springform pan with parchment paper and give the sides a light spray with cooking spray. Wrap the outside of the pan completely in aluminum foil. This keeps the water from the water bath from seeping in.
Step 2: Make the Ladyfinger Crust
Mix your cooled espresso, coffee liqueur, and sugar in a shallow bowl.
Take each ladyfinger and quickly dip it in the coffee mixture. Two seconds per side. Don’t let them soak or they’ll fall apart.
Arrange the dipped ladyfingers in a single layer on the bottom of your springform pan. You might need to break some to fit them in snugly. That’s fine. Nobody’s judging.
Step 3: Make the Cheesecake Filling
In a large bowl, beat the cream cheese and mascarpone together with an electric mixer on medium speed until smooth and creamy. This should take about 2 minutes.
Add the sugar and beat until well combined. Scrape down the sides of the bowl.
Add the eggs one at a time, beating on low speed after each addition. Don’t overmix once the eggs are in or you’ll incorporate too much air (hello, cracks).
Mix in the flour, sour cream, vanilla extract, instant espresso powder, and coffee liqueur until just combined.
Step 4: Assemble and Bake
Pour the cheesecake filling over the ladyfinger crust. Smooth the top with a spatula.
Place your springform pan inside a large roasting pan. Carefully pour hot water into the roasting pan until it comes about halfway up the sides of the springform pan.
Bake for 60-70 minutes. The cheesecake is done when the edges are set but the center still has a slight jiggle when you gently shake the pan.
Turn off the oven, crack the door open, and let the cheesecake cool inside for 1 hour. This gradual cooling helps prevent cracks.
Step 5: Chill and Serve
Remove the cheesecake from the oven and water bath. Let it cool completely at room temperature, then cover and refrigerate for at least 6 hours (overnight is best).
When you’re ready to serve, run a knife around the edges of the pan and carefully remove the springform ring.
Dust the top generously with cocoa powder using a fine mesh sieve. Add chocolate shavings if you’re feeling fancy.
Slice with a sharp knife (wipe it clean between cuts for those perfect slices) and serve.
Substitutions and Variations

Skip the coffee liqueur? Use the same amount of additional espresso mixed with a teaspoon of vanilla extract.
Can’t find mascarpone? Mix 8 oz of room temperature cream cheese with 1/4 cup heavy cream. It’s not exactly the same, but it’ll work in a pinch.
Want it less coffee-forward? Use half the espresso powder and skip soaking the ladyfingers in coffee. Brush them lightly with the mixture instead.
Make it boozy. Add an extra tablespoon of coffee liqueur to the filling and use Marsala wine instead of Kahlúa for a more traditional tiramisu vibe.
Chocolate lovers. Add 4 oz of melted dark chocolate to the filling for a richer, more decadent version.
No springform pan? Use a 9-inch round cake pan lined with parchment paper. You’ll need to carefully invert it to remove, but it works.
Make Ahead Tips
This cheesecake actually gets better after a day or two in the fridge. The flavors meld together and the texture becomes even creamier.
You can make it up to 3 days ahead. Just wait to dust it with cocoa powder until right before serving.
If you want to freeze it, wrap the whole thing (without cocoa topping) tightly in plastic wrap and then aluminum foil. It’ll keep for up to 2 months. Thaw it overnight in the fridge before serving.
Nutrition Information (Per Slice, Based on 12 Servings)
| Nutrient | Amount |
|---|---|
| Calories | 420 |
| Total Fat | 28g |
| Saturated Fat | 16g |
| Cholesterol | 135mg |
| Sodium | 320mg |
| Total Carbohydrates | 35g |
| Dietary Fiber | 1g |
| Sugars | 26g |
| Protein | 8g |
| Caffeine | ~30mg |
Note: Nutritional values are approximate and will vary based on specific brands used.
What to Serve It With
This cheesecake is rich. Like, really rich. So pair it with things that can balance that out.
A cup of strong black coffee or espresso is the obvious choice. The bitterness cuts through the sweetness perfectly.
Fresh berries (strawberries or raspberries) add a tart contrast that works beautifully. You can arrange them on the plate or macerate them with a bit of sugar and lemon juice.
A small scoop of vanilla gelato on the side turns this into a full Italian dessert experience.
If you’re serving it at a dinner party, keep the portions on the smaller side. A thin slice goes a long way, and your guests will appreciate not feeling like they need to unbutton their pants.
Leftovers and Storage
Keep leftovers covered in the fridge for up to 5 days. The cheesecake will stay creamy, but the ladyfinger crust might soften a bit over time (still delicious, just not as crisp).
For the best texture, store it in the springform pan with the ring back on, or transfer slices to an airtight container.
If the cocoa powder starts to absorb moisture and look patchy, just dust it with a fresh layer before serving again.
Individual slices can be frozen separately. Wrap each slice in plastic wrap and store in a freezer bag. They’ll keep for up to 2 months. Thaw in the fridge for a few hours or overnight.
FAQ
Can I make this without a water bath?
You can, but you’ll likely get cracks on the surface. If you’re okay with that (or plan to cover it with cocoa powder anyway), skip the water bath and just place a pan of water on the rack below the cheesecake while it bakes.
Why is my cheesecake cracked?
Usually from overbaking, cooling too quickly, or overmixing the batter once the eggs are in. The water bath and gradual cooling help prevent this.
Can I use instant coffee instead of espresso powder?
Yep. Use the same amount. The flavor will be slightly less intense, but it’ll still taste great.
My filling looks grainy. What happened?
Your cream cheese or mascarpone was probably too cold. Let everything come to room temperature next time and beat it longer until it’s completely smooth.
Do I have to use ladyfingers?
They’re traditional and give the right texture, but you could use graham crackers or vanilla wafer cookies in a pinch. The flavor won’t be quite the same, but it’ll still be good.
How do I know when it’s done baking?
The edges should be set and slightly puffed, while the center should still jiggle slightly when you gently shake the pan. It’ll firm up as it cools. An instant-read thermometer should read 150°F in the center.
Can I make mini versions?
Absolutely. Use a muffin tin lined with cupcake liners. Cut the ladyfingers to fit, add the filling, and bake for 20-25 minutes. They’re perfect for parties.
Why does my cheesecake taste eggy?
You might have overbaked it or added the eggs at too high a speed. Always add eggs on low speed and mix just until incorporated.
Wrapping Up
Tiramisu cheesecake is one of those desserts that looks way more complicated than it actually is.
You get the creamy, dreamy texture of cheesecake with all those coffee-soaked, Italian vibes from tiramisu. It’s a showstopper that doesn’t require you to stress out in the kitchen for hours.
Make it for your next dinner party, a special occasion, or just because you deserve something delicious this week. Trust me, once you slice into it and see those layers, you’ll feel like a total baking genius.
Now go make it, take a picture, and tell me how it turned out. Did you add extra espresso? Skip the coffee liqueur? Almost eat the whole thing yourself?
Drop a comment below. I want to hear all about it. 🍰☕


